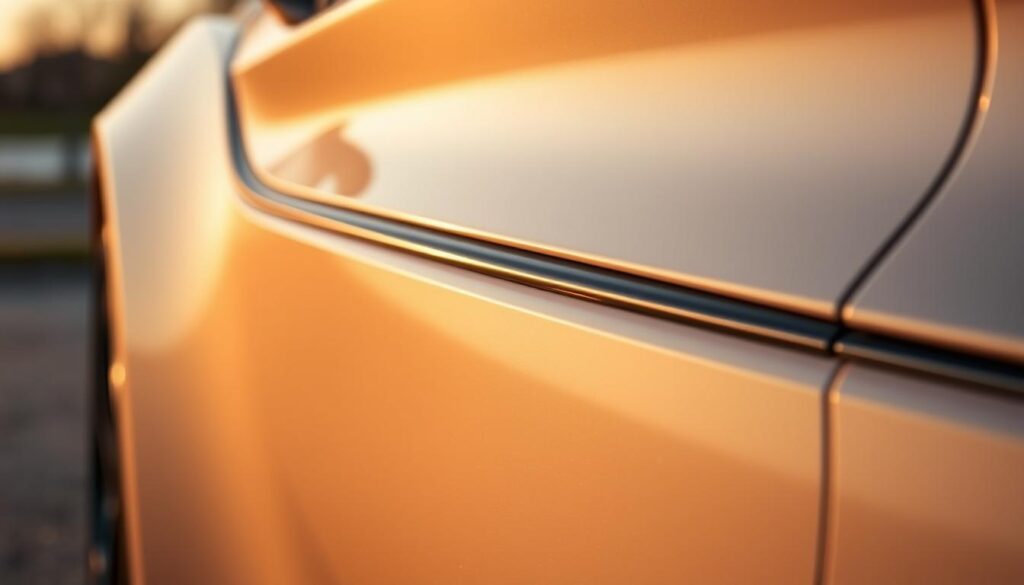
Giving your car a personalized touch can be achieved through DIY car modification, such as blacking out chrome trim. This simple yet effective technique can dramatically enhance your vehicle’s appearance, making it stand out.
By blacking out chrome trim, you can achieve a sleek, modern look that reflects your personal style. This car customization technique is not only aesthetically pleasing but also relatively easy to accomplish with the right guidance.
Key Takeaways
- Understand the benefits of blacking out chrome trim for car customization.
- Learn the steps involved in the DIY process.
- Discover the materials needed for a successful modification.
- Gain insights into achieving a professional-looking finish.
- Explore tips for maintaining your newly customized car trim.
The Appeal of Blacked-Out Chrome Trim
Car enthusiasts are increasingly turning to blacked-out chrome trim to achieve a “murdered-out” look that enhances their vehicle’s overall appearance. This trend is driven by the desire for a more aggressive and sleek aesthetic.
Aesthetic Benefits
The “murdered-out” look offers several aesthetic benefits, including a more aggressive appearance and a reduction in the visual clutter associated with shiny chrome parts. Key advantages include:
- A more streamlined appearance
- Enhanced visual appeal
- A more aggressive stance
By blacking out chrome trim, car owners can create a cohesive look that emphasizes the vehicle’s design lines and contours.
Popular Vehicles Enhanced by Blacked-Out Trim
Several vehicle models are commonly enhanced with blacked-out trim, including:
- Ford F-150
- Chevrolet Silverado
- Dodge Ram
- Jeep Wrangler
These vehicles benefit from the aesthetic upgrade provided by blacked-out chrome trim, giving them a more rugged and aggressive appearance. 
The popularity of blacked-out chrome trim is a testament to the ongoing desire for vehicle customization and personalization.
Understanding Your Options for Chrome Blackout
When considering a chrome blackout for your vehicle, it’s essential to understand the various options available. Blacking out chrome trim can significantly enhance your car’s appearance, but the method you choose depends on several factors, including your budget, the level of permanence you desire, and your comfort with DIY projects.

Temporary vs. Permanent Solutions
One of the primary decisions you’ll need to make is whether you want a temporary or permanent chrome blackout. Temporary solutions, such as vinyl wraps or Plasti Dip, are ideal for those who want to achieve the look without a long-term commitment. On the other hand, painting or coating the chrome trim provides a more permanent solution.
- Temporary solutions are great for testing the look or for lease vehicles.
- Permanent solutions offer durability but are more challenging to reverse.
DIY vs. Professional Services
Another crucial consideration is whether to undertake the chrome blackout as a DIY project or to hire professional services. DIY methods can be cost-effective and rewarding, but they require time, patience, and some skill. Professional services, while more expensive, offer expertise and warranties that can provide peace of mind.
Key considerations for DIY vs. professional services include:
- Your level of comfort with DIY projects.
- The complexity of the job and the tools required.
- The cost implications of each approach.
Cost Comparison of Different Methods
The cost of blacking out chrome trim varies widely depending on the method chosen. Vinyl wraps and Plasti Dip tend to be more affordable upfront, while professional painting or coating services can be more expensive. However, the latter may offer longer-term savings due to their durability.
“The cost-effectiveness of a chrome blackout method should be evaluated based on both initial costs and long-term durability.”
A detailed cost comparison can help you make an informed decision that aligns with your budget and preferences.
Essential Tools and Materials for Chrome Blackout
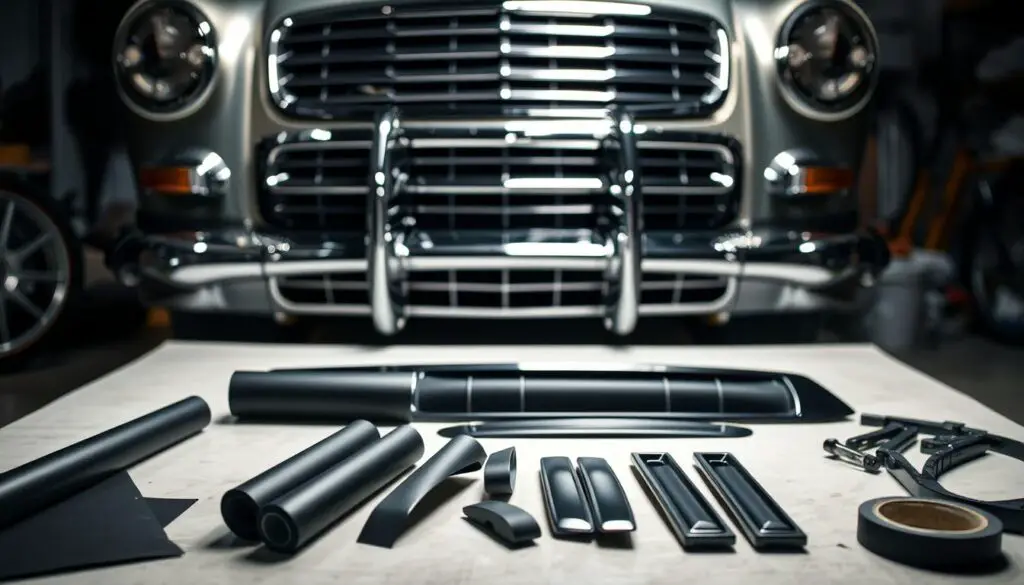
The key to a successful chrome blackout lies in having the essential tools and materials at your disposal. Before you begin, it’s crucial to understand what you’ll need to achieve a professional-looking finish.
Basic Preparation Supplies
To start, you’ll need basic preparation supplies. These include a thorough cleaning solution to remove dirt and grime, microfiber cloths for cleaning and drying, and masking tape to protect surrounding areas from overspray or wrap adhesion. Ensuring your surface is clean and prepared is vital for a successful application.
Vinyl Wrap Materials
For those opting for a vinyl wrap, you’ll need high-quality vinyl wrap material specifically designed for automotive use. A squeegee is essential for applying the wrap smoothly and removing air bubbles. Additionally, a cutting tool or plotter will be necessary for trimming the vinyl to the correct size.
Plasti Dip Supplies
If you prefer using Plasti Dip, you’ll need to acquire Plasti Dip spray cans in the desired color. It’s also recommended to have masking film or paper to protect surrounding trim and surfaces. A primer may be necessary for certain surfaces to ensure better adhesion.
Paint and Coating Options
For a more permanent solution, you’ll need automotive-grade paint and a clear coat to protect the finish. Sanding tools will be required to smooth out the surface before painting. Additionally, a paint gun or spray equipment will be necessary for applying the paint evenly.
By gathering these essential tools and materials, you’ll be well-prepared to tackle your chrome blackout project with confidence.
How to Black Out Chrome Trim: Step-by-Step Methods
To achieve a murdered-out look on your vehicle, you’ll need to follow a detailed process for blacking out chrome trim. This involves several methods, each with its own set of steps and requirements.
Preparing Your Chrome Surfaces
Before applying any blackout method, it’s crucial to prepare your chrome surfaces properly. This ensures a smooth, even finish and helps the chosen material adhere well.
Cleaning and Degreasing
Start by thoroughly cleaning the chrome trim with soap and water to remove any dirt or debris. Then, use a degreaser to remove any oils or waxes that might interfere with the adhesion of your chosen blackout material.
Masking Adjacent Areas
Use masking tape and paper or a masking film to protect areas around the chrome trim that you don’t want to black out. This includes paint, glass, and other sensitive surfaces.
Vinyl Wrap Application Process
Applying a vinyl wrap is a popular method for blacking out chrome trim. It offers a durable, removable solution that can be customized with different finishes.
Measuring and Cutting
Measure the chrome trim carefully and cut the vinyl wrap to size, leaving a little extra around the edges to ensure complete coverage.
Application and Heat Shrinking
Apply the vinyl wrap to the chrome surface, starting from the center and working your way outwards. Use a heat gun to shrink the vinyl, conforming it to the shape of the trim.
Plasti Dip Application Technique
Plasti Dip is another versatile option for blacking out chrome trim. It’s a rubberized coating that can be easily applied and removed.
Proper Spraying Technique
Shake the Plasti Dip can thoroughly and spray it evenly onto the chrome surface from a distance of about 8-10 inches. Use thin, even coats to avoid drips.
Building Multiple Layers
Allow the first coat to dry completely before applying subsequent layers. Multiple thin layers are better than a single thick coat for achieving a smooth finish.
Paint and Clear Coat Method
For a more permanent solution, you can paint the chrome trim black and finish it with a clear coat for protection.
Primer Application
Apply a primer specifically designed for metal surfaces to ensure the paint adheres properly. Let it dry according to the manufacturer’s instructions.
Paint and Seal Process
Paint the chrome trim with a high-quality black paint suitable for outdoor use. Finish with a clear coat to protect the paint and give it a glossy finish.
By following these step-by-step methods, you can successfully black out your car’s chrome trim, achieving a sleek, modern appearance that enhances your vehicle’s overall aesthetic.
Troubleshooting Common Issues and Maintenance
Maintaining your car’s blacked-out chrome trim is essential for its longevity. Despite the durability of modern materials, issues such as bubbles and peeling can arise, detracting from your vehicle’s appearance.
Fixing Bubbles and Peeling
Bubbles and peeling are common problems when applying vinyl wraps or other finishes. To fix these issues, start by cleaning the area thoroughly. For small bubbles, use a pin to carefully puncture the bubble and smooth out the area with a credit card or similar tool.
Table: Troubleshooting Guide
| Issue | Solution |
|---|---|
| Bubbles | Puncture with a pin and smooth out |
| Peeling | Apply adhesive or replace the wrap |
Proper Cleaning and Care Techniques
Regular cleaning is vital to maintain the appearance of your blacked-out trim. Use a mild soap and water solution, avoiding harsh chemicals that can damage the finish. A soft cloth or sponge is recommended to prevent scratching.
“Regular maintenance not only keeps your car looking great but also extends the life of the finish.” – Automotive Expert
When to Reapply or Touch Up
The frequency of reapplication or touch-ups depends on the material used and environmental conditions. Generally, inspect your trim every few months for signs of wear. For vinyl wraps, reapplication may be needed every 3-5 years, while Plasti Dip may require more frequent touch-ups.
By following these troubleshooting and maintenance tips, you can keep your car’s blacked-out chrome trim looking its best and ensure its longevity.
Black Out Chrome Trim: A Sleek Car Customization Summary
Blackening chrome trim on your vehicle can significantly enhance its appearance, giving it a sleek, customized look. Throughout this guide, we’ve explored the various methods and benefits of blacking out chrome trim, from temporary solutions like vinyl wraps and Plasti Dip to more permanent paint and clear coat applications.
By understanding your options and choosing the right materials and techniques, you can achieve a professional-looking finish. Whether you’re looking to enhance your car’s aesthetic appeal or simply want to give it a fresh new look, blacking out chrome trim is a straightforward and effective car customization summary.
With the right tools and a bit of patience, you can successfully black out chrome trim, resulting in a black out chrome trim conclusion that elevates your vehicle’s style and sophistication.
FAQ
What is the best method for blacking out chrome trim on my car?
The best method depends on your preferences and needs. Popular options include vinyl wrapping, Plasti Dipping, and painting with a clear coat. Each method has its pros and cons, and the choice ultimately depends on the desired finish and durability.
Is blacking out chrome trim a DIY-friendly project?
Yes, blacking out chrome trim can be a DIY-friendly project if you have the right tools and materials. However, it requires patience, attention to detail, and some experience with automotive customization. If you’re unsure, consider consulting a professional.
How long does it take to black out chrome trim using different methods?
The time it takes to black out chrome trim varies depending on the method. Vinyl wrapping can take several hours, while Plasti Dipping may require multiple coats and drying time. Painting with a clear coat can be the most time-consuming, requiring preparation, primer application, and multiple coats.
Can I black out chrome trim on any vehicle?
Yes, you can black out chrome trim on most vehicles. However, some cars may have complex trim designs or require special preparation. Research your vehicle’s specific trim and consult with professionals if you’re unsure.
How do I maintain my blacked-out chrome trim?
To maintain your blacked-out chrome trim, avoid using harsh chemicals or abrasive cleaners. Instead, use mild soap and water, and dry the trim thoroughly. Regular cleaning and inspections can help prevent damage and ensure a long-lasting finish.
Can I remove or reverse the blackout process if I change my mind?
Yes, some methods are reversible, such as vinyl wrapping and Plasti Dipping. However, removing paint and clear coat can be more challenging and may require professional assistance. Consider the potential for reversal before starting your project.
Are there any specific safety precautions I should take when blacking out chrome trim?
Yes, when working with chemicals, paints, or other materials, always wear protective gear, including gloves, safety glasses, and a mask. Ensure good ventilation, and follow the manufacturer’s instructions for each product.


