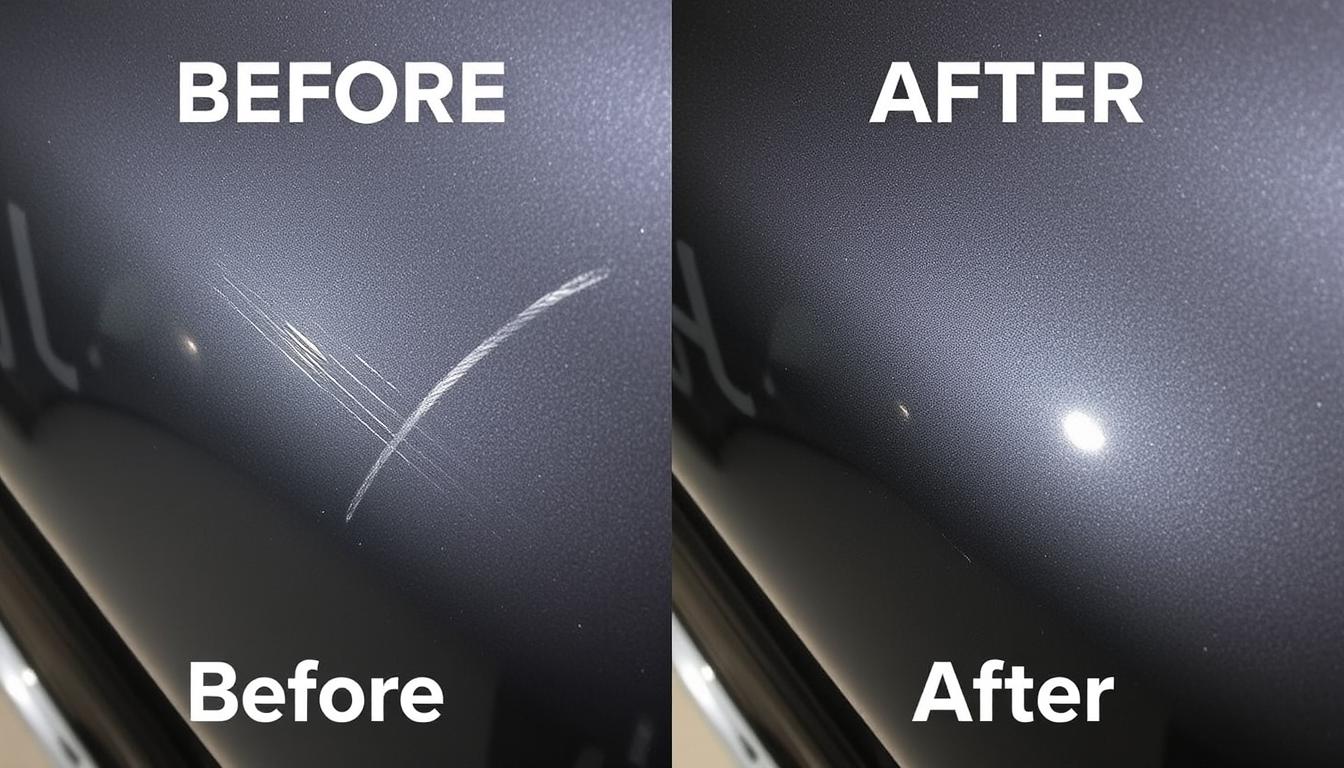
Few things are more frustrating than discovering a new scratch on your car’s paintwork. Whether from a shopping cart, a careless driver, or an unfortunate brush with a bush, scratches not only affect your vehicle’s appearance but can also lead to more serious damage if left untreated. The good news is that many scratches can be successfully buffed out at home with the right tools and techniques.
In this comprehensive guide, we’ll walk you through everything you need to know about identifying different types of scratches, gathering the proper materials, and using effective buffing techniques to restore your car’s finish to its former glory.
Understanding Different Types of Car Scratches
Before attempting to buff out scratches, it’s important to understand what you’re dealing with. Car paint consists of multiple layers, and the depth of the scratch determines whether you can fix it yourself or need professional help.
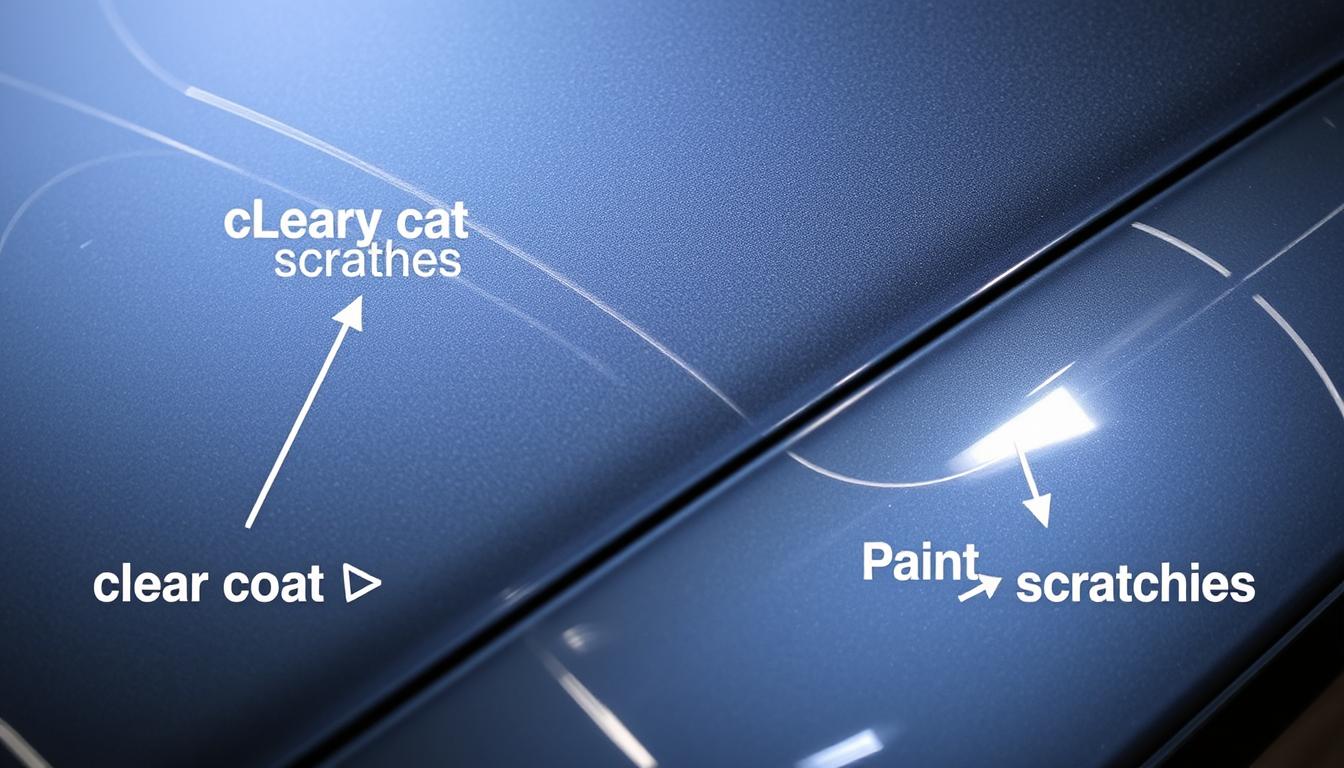
Clear Coat Scratches
The outermost layer of your car’s finish is the clear coat. It’s a transparent protective layer that gives your paint its shine and protects it from UV rays and minor damage. Scratches that only affect this layer are the easiest to repair at home.
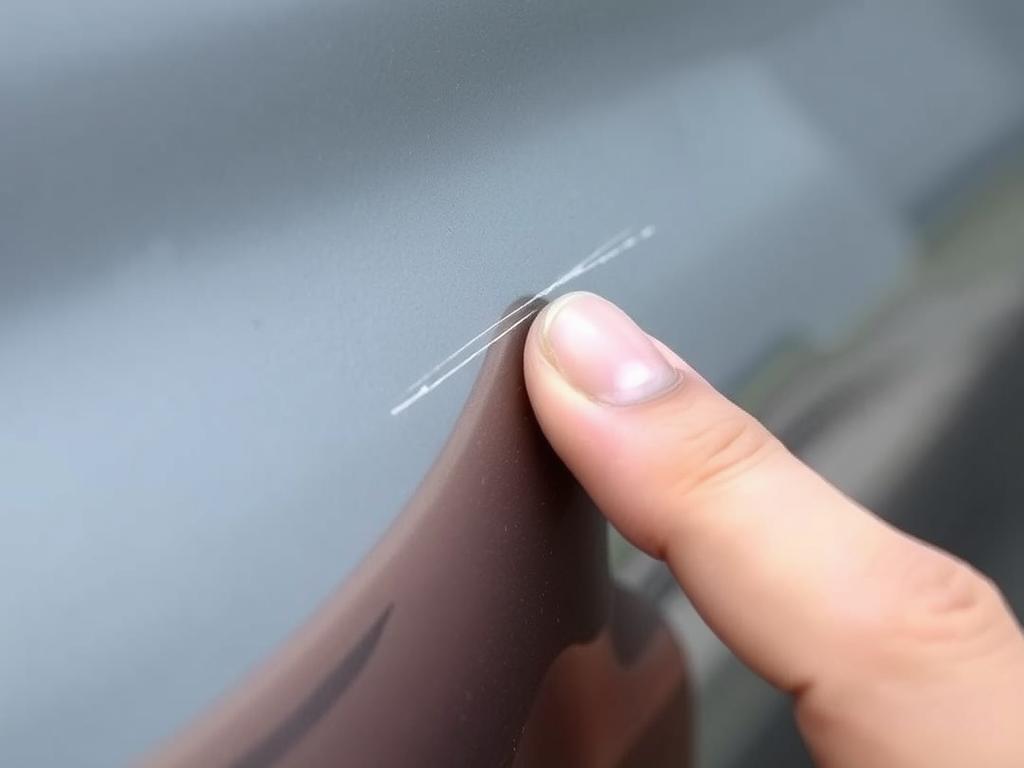
How to identify: Run your fingernail gently across the scratch. If your nail doesn’t catch in the scratch, it’s likely only in the clear coat and can be buffed out relatively easily.
Base Coat/Color Coat Scratches
These scratches penetrate through the clear coat and into the colored paint layer. They’re more serious but can still be addressed with DIY methods in many cases.
How to identify: If your fingernail catches slightly in the scratch or you can see a different color (often white or primer gray) in the scratch, it’s reached the base coat.
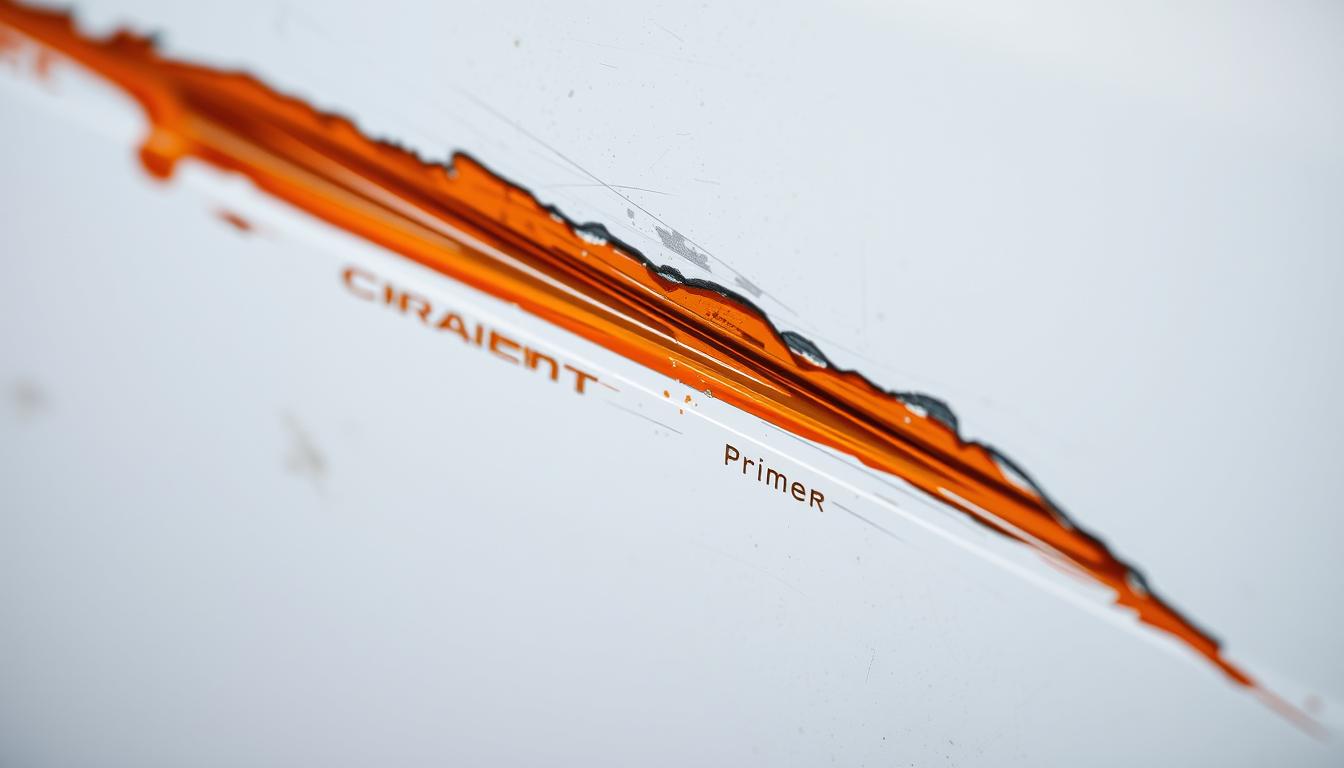
Deep Paint Scratches
The most severe scratches penetrate all the way to the primer or even the metal body of the car. These require more extensive repair techniques and might need professional attention.
How to identify: Your fingernail easily catches in the scratch, and you can see primer color or bare metal. These scratches often appear whitish or metallic in color.
Essential Tools and Materials for Buffing Out Scratches
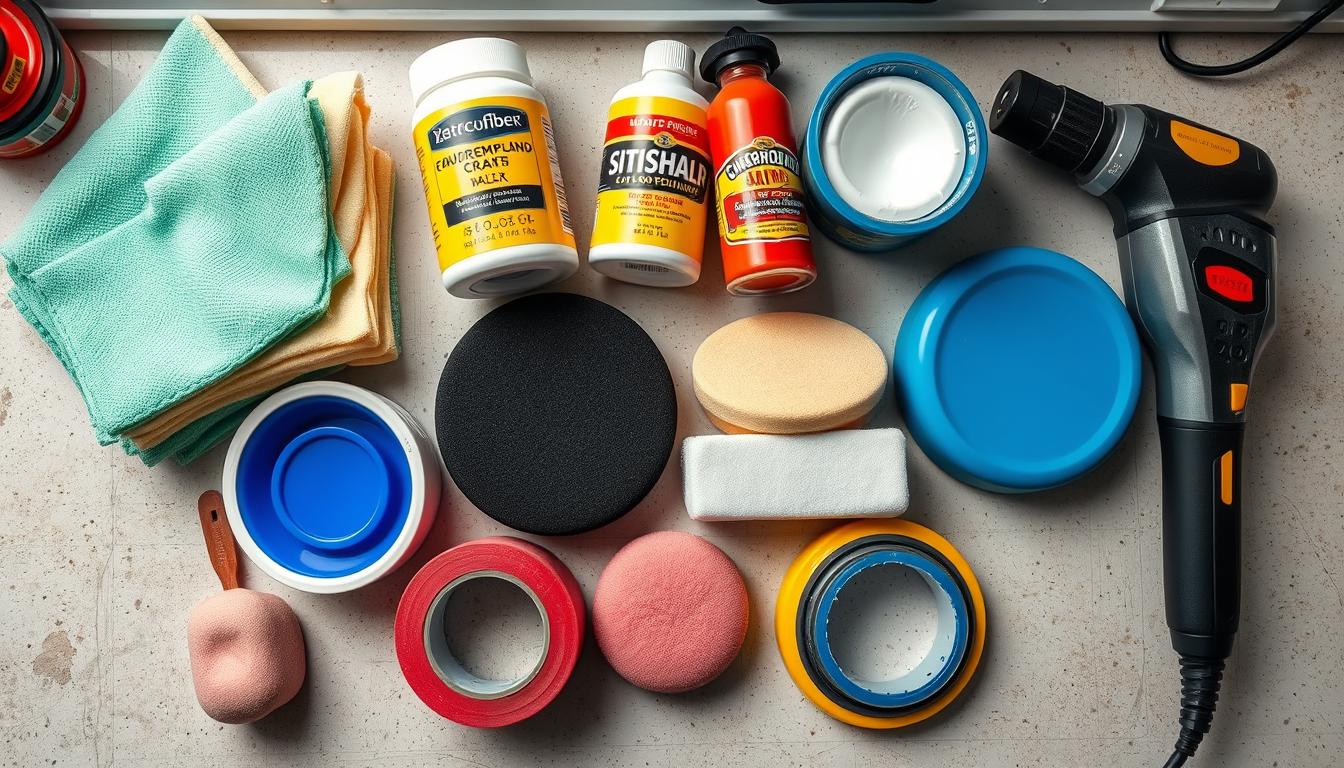
Having the right tools on hand is crucial for successful scratch removal. Here’s what you’ll need:
Basic Tools:
- Car wash soap – For cleaning the surface before buffing
- Microfiber cloths – Multiple clean cloths for application and removal
- Masking tape – To protect areas around the scratch
- Spray bottle with water – For wet sanding if needed
- Bucket – For washing the car
Buffing Materials:
- Rubbing compound – For removing deeper scratches
- Polishing compound – For refining the surface after rubbing compound
- Car wax or sealant – For protecting the repaired area
- Applicator pads – For applying compounds and wax
- Sandpaper – Various grits (1500-3000) for deeper scratches
Optional but Helpful Tools:
- Dual-action polisher – Makes the job easier and more effective
- Polishing pads – Different types for cutting, polishing, and finishing
- Touch-up paint – For color coat scratches
- Paint depth gauge – To measure clear coat thickness
Professional-Grade Scratch Removal Kit
For best results, consider investing in a quality scratch removal kit that includes all the essential compounds, pads, and applicators in one package. These kits are specifically formulated to work together and often include detailed instructions.
Preparing Your Car for Scratch Removal

Proper preparation is essential for successful scratch removal. Follow these steps before you begin the actual buffing process:
- Wash the entire car or at least the affected areaUse car wash soap and clean water to remove all dirt, dust, and debris. Any particles left on the surface can cause additional scratches during the buffing process.

- Dry thoroughly with clean microfiber towelsMake sure the surface is completely dry before proceeding. Water droplets can interfere with the buffing process and dilute the compounds you’ll be using.
- Examine the scratch in good lightingNatural daylight is best for assessing the depth and extent of the scratch. Use the fingernail test described earlier to determine what type of scratch you’re dealing with.

- Mask off surrounding areas if neededIf the scratch is near trim, moldings, or other areas you don’t want to accidentally buff, use masking tape to protect these areas.
Safety Tip: Always work in a shaded area, not in direct sunlight. Heat can cause compounds to dry too quickly, making them less effective and potentially damaging to your paint.
How to Buff Out Clear Coat Scratches
Clear coat scratches are the most common and easiest to fix. Here’s how to buff them out effectively:
Method 1: Hand Buffing (For Minor Scratches)
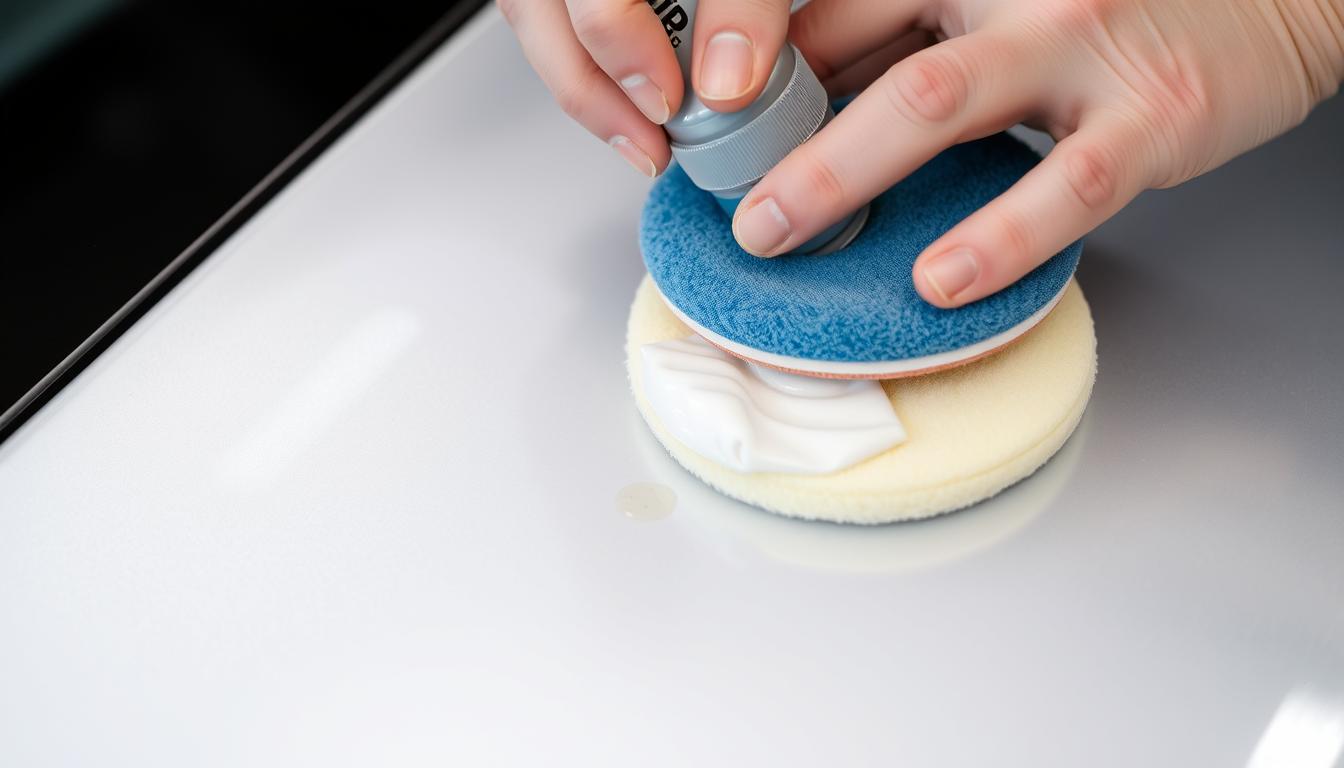
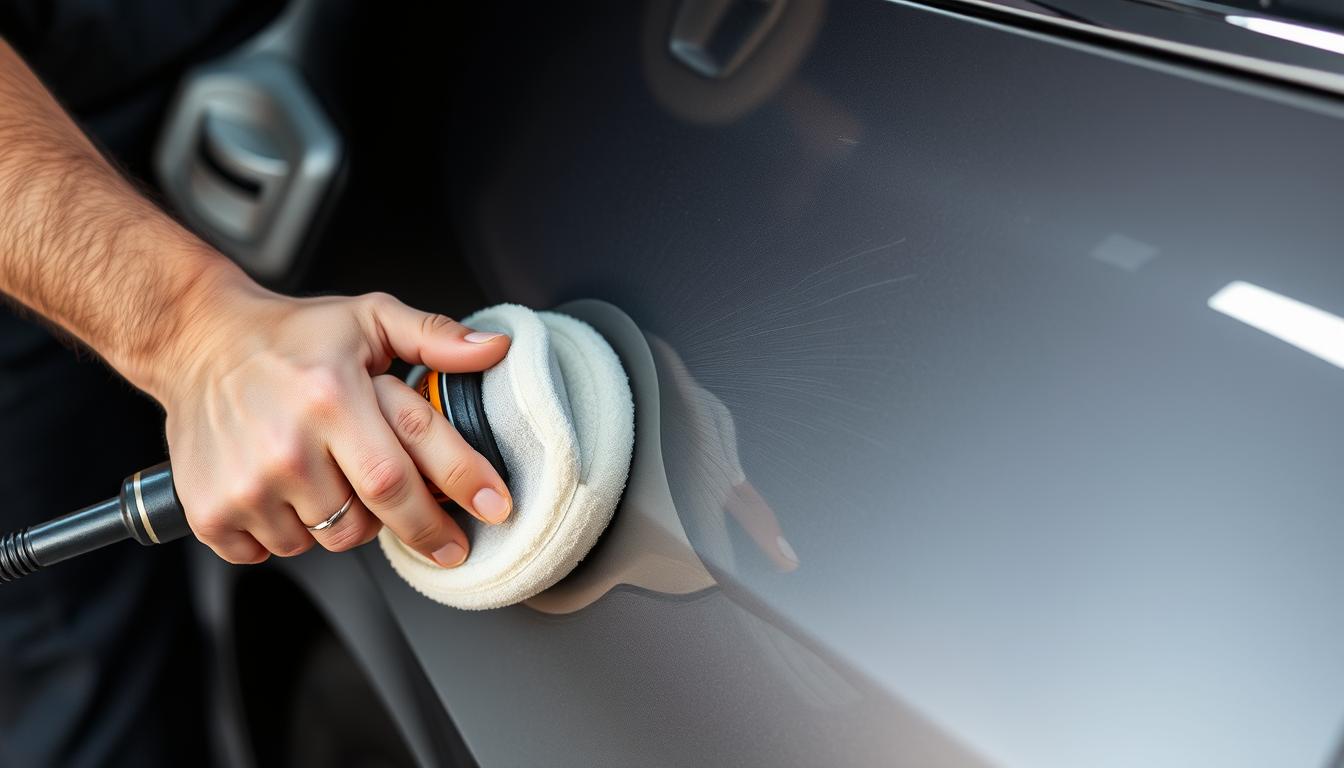
- Apply a small amount of polishing compoundPlace a dime-sized amount of polishing compound on a clean microfiber cloth or foam applicator pad.

- Work the compound into the scratch using circular motionsApply moderate pressure and work in small, overlapping circles. Continue for about 30-60 seconds in the scratched area.

- Wipe away excess compoundUse a clean microfiber cloth to remove any remaining compound. Check your progress – the scratch should be less visible.
- Repeat if necessaryFor stubborn scratches, you may need to repeat the process 2-3 times. Be patient and check your progress after each attempt.
- Apply car waxOnce the scratch is removed or significantly reduced, apply a coat of car wax to protect the area and blend the finish with the rest of the panel.

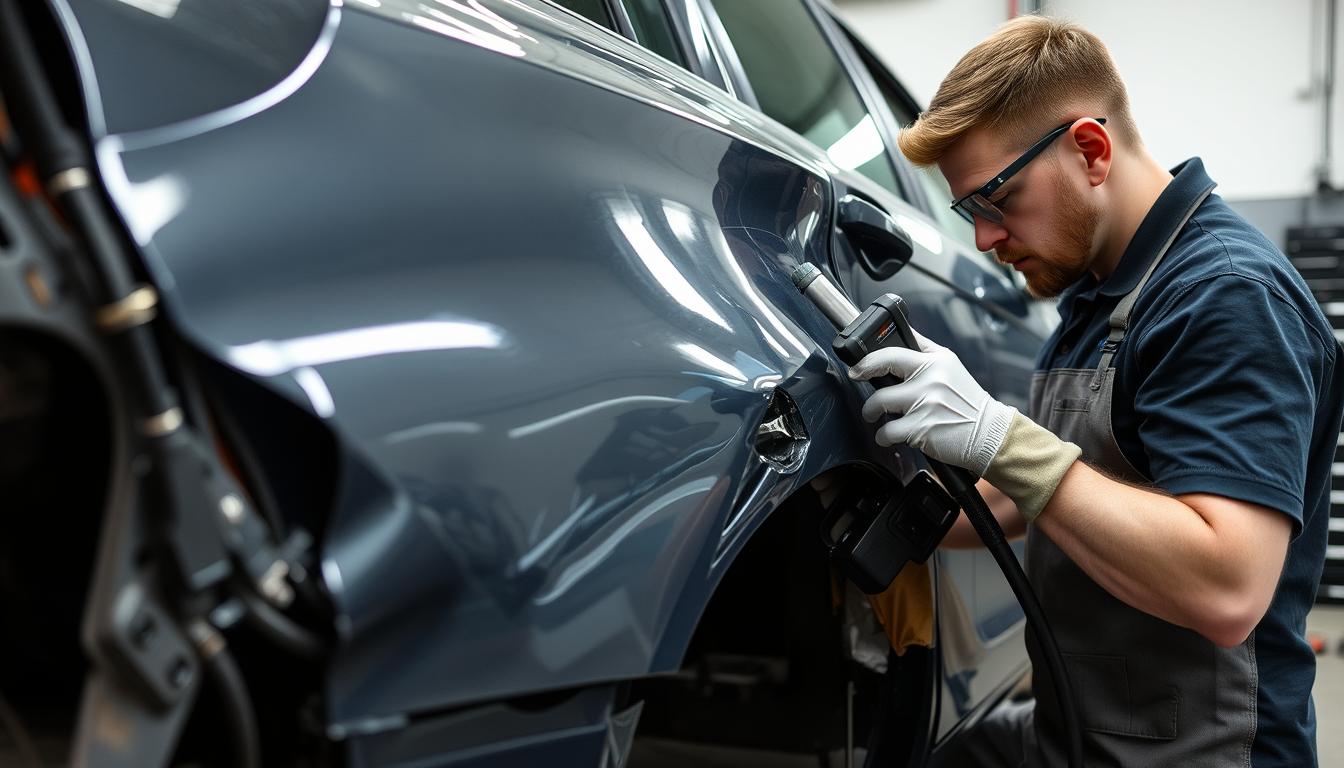
Method 2: Using a Dual-Action Polisher (For Larger Areas or Multiple Scratches)
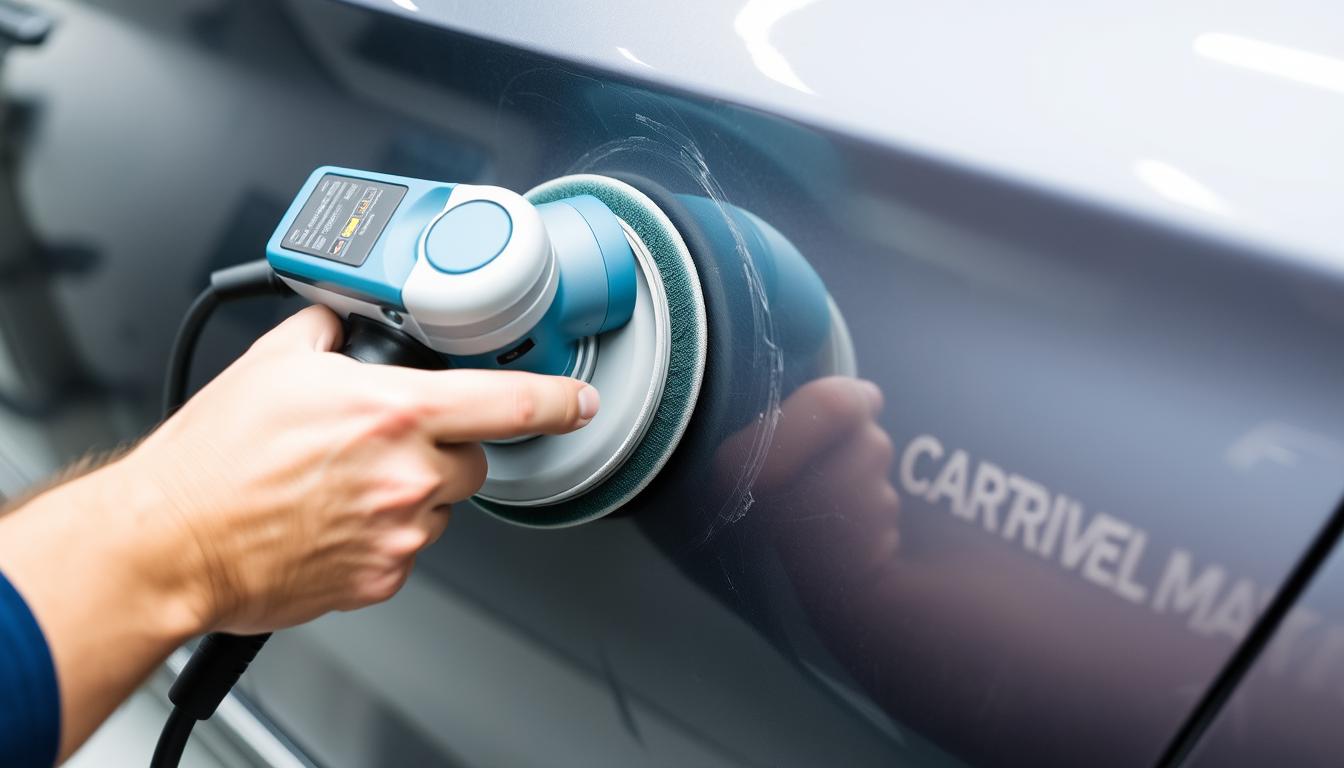
- Attach a polishing pad to your dual-action polisherDifferent pads have different levels of cutting power. For clear coat scratches, a medium-soft foam pad is usually appropriate.
- Apply polishing compound to the padPlace 3-4 small dots of polishing compound on the pad. Don’t overdo it – excess product can sling off during use.

- Set the polisher to a low speed (1-2) to startPlace the pad on the surface before turning on the machine to avoid slinging compound.
- Work in a crosshatch patternMove the polisher slowly across the scratched area in straight lines, then repeat in perpendicular lines to ensure even coverage. Apply light to moderate pressure.

- Gradually increase speed if neededYou can increase to speed 3-4 as you become comfortable with the machine’s operation.
- Wipe away residue and inspectUse a clean microfiber cloth to remove compound residue and check your progress.
- Follow with a finishing polish if neededFor the best results, follow with a finer finishing polish using a softer pad to remove any swirl marks from the compounding process.
- Seal with wax or sealantApply a protective layer of car wax or paint sealant to protect your freshly polished surface.
Save Time with a Quality Dual-Action Polisher
While hand buffing works for small scratches, a dual-action polisher makes the job much faster and often produces better results. These machines are designed to be safe for beginners and won’t burn through your paint like rotary buffers can.
Dealing with Deeper Paint Scratches
For scratches that penetrate into the base coat or primer, you’ll need a more comprehensive approach:
Step 1: Assess the Damage
If your scratch reveals primer (usually grayish) or bare metal (silver), you’ll need to address these layers before buffing.
Step 2: Clean and Prepare
Follow the same preparation steps as for clear coat scratches, ensuring the area is thoroughly clean and dry.
Step 3: Use Touch-Up Paint for Color Coat Damage
- Find the correct paint code for your vehicleThis is typically located on a sticker in the driver’s door jamb, under the hood, or in the trunk.

- Apply primer if bare metal is exposedIf you can see metal, apply a thin coat of primer and allow it to dry completely (usually 30-60 minutes).
- Apply touch-up paint in thin layersUsing a fine brush or applicator, apply touch-up paint to the scratch. Build up in thin layers rather than one thick coat. Allow each layer to dry before applying the next.

- Let the paint cureAllow the touch-up paint to cure for at least 24 hours before proceeding to the next step.
Step 4: Level and Blend the Repair
- Wet sand the repaired area (optional for larger repairs)For larger touch-ups, you may need to carefully wet sand the area with 2000-3000 grit sandpaper to level the repair. Keep the paper wet and use very light pressure.

- Apply rubbing compoundUse rubbing compound to blend the edges of the repair with the surrounding paint. Apply with a microfiber cloth or foam pad using circular motions.
- Follow with polishing compoundAfter the rubbing compound, use a finer polishing compound to refine the surface and restore shine.
- Protect with wax or sealantApply a protective coating of car wax or paint sealant to the repaired area.

Important: Deep scratches that expose bare metal should be addressed promptly to prevent rust formation. If you’re not confident in your ability to repair such damage, consult a professional detailer or body shop.
Pro Tips for Successful Scratch Buffing
Technique Tips:
- Always work in a shaded area – Direct sunlight can heat up the paint surface and cause compounds to dry too quickly
- Use light to moderate pressure – Let the compound and pad do the work; excessive pressure can damage paint
- Keep pads and cloths clean – Contaminated materials can cause new scratches
- Work in small sections – Focus on areas about 2 feet square at a time
- Be patient – Multiple light passes are better than one aggressive attempt
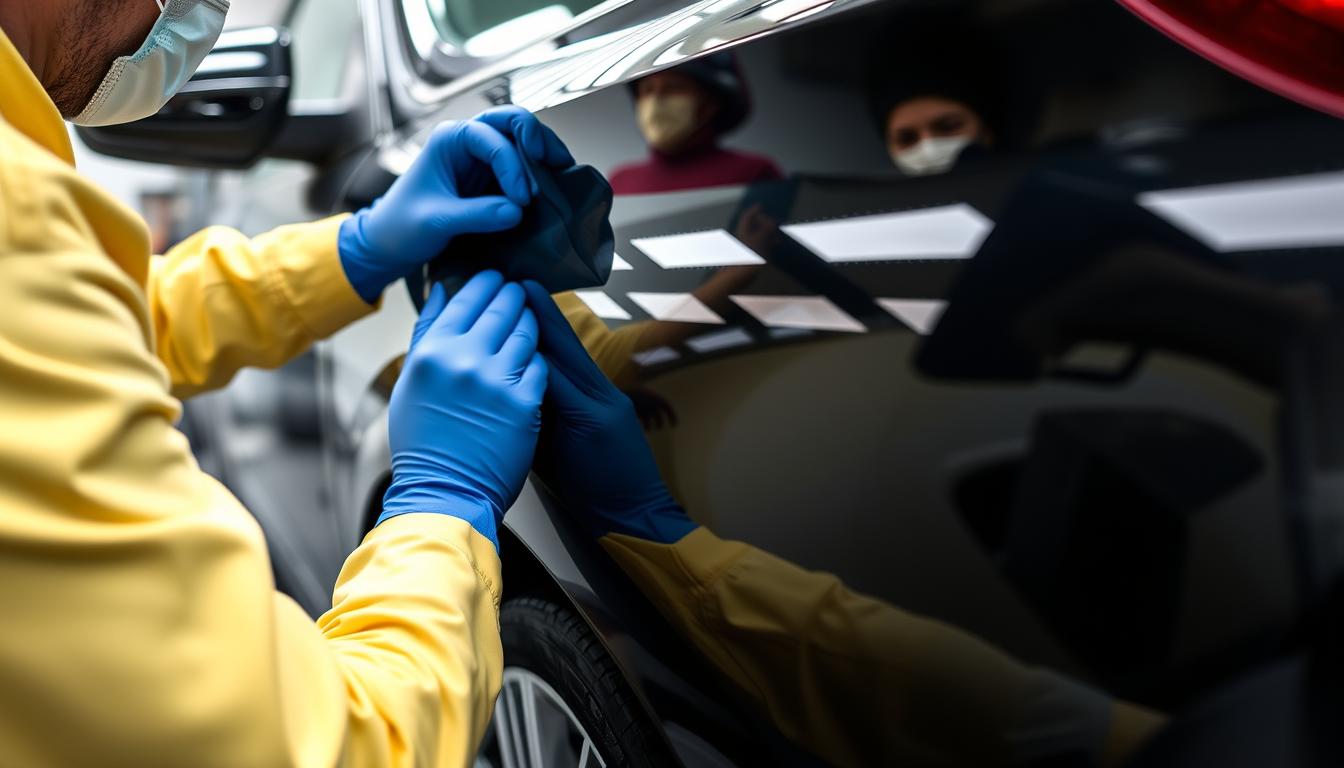
Safety Precautions:
- Test in an inconspicuous area first – Especially when using new products or techniques
- Avoid edges and sharp body lines – Paint is thinner in these areas
- Keep the polisher moving – Staying in one spot too long can burn through paint
- Wear appropriate protection – Gloves and eye protection are recommended
- Read product instructions – Different compounds have different working times and techniques
“The key to successful scratch removal is patience and proper technique. It’s always better to make several gentle passes than to try to remove the scratch in one aggressive attempt.”
Premium Microfiber Cloths Make a Difference
Quality microfiber cloths are essential for scratch removal. They’re gentle on your paint while effectively removing compounds and polishes without leaving swirl marks or lint behind.
When to Call a Professional
While many scratches can be successfully buffed out at home, there are situations where professional help is recommended:
DIY-Appropriate Scratches
- Clear coat scratches that don’t catch your fingernail
- Light scuffs and surface marring
- Minor paint transfer from another object
- Shallow scratches that haven’t exposed primer or metal
- Swirl marks and light oxidation
Seek Professional Help For
- Deep scratches that expose primer or metal
- Scratches with rust formation
- Damage covering large areas or multiple panels
- Scratches on expensive or collector vehicles
- Damage to specialized finishes (matte, ceramic coated, etc.)
Professional detailers and body shops have specialized equipment and products that can address more severe damage. They can also ensure that repairs match your car’s original finish perfectly, which is especially important for newer or high-value vehicles.
Cost Consideration: Professional scratch repair typically costs between $150-$500 depending on the severity of the damage and your location. For minor scratches, DIY methods can save you significant money while achieving professional-quality results.
Preventing Future Scratches
After successfully buffing out scratches, you’ll want to protect your car from future damage. Here are some effective preventive measures:
Regular Maintenance:
- Wash properly – Use the two-bucket method and clean microfiber wash mitts
- Dry with quality microfiber towels – Never use regular towels or air drying
- Apply wax or sealant regularly – Every 3-6 months for standard wax, 6-12 months for sealants
- Keep a quick detailer handy – For bird droppings and other contaminants that can etch paint
Physical Protection:
- Consider paint protection film (PPF) – Transparent film that absorbs impacts
- Ceramic coating – Professional-grade protection that lasts years
- Park strategically – Away from shopping carts, doors, and high-traffic areas
- Use a car cover – When parked for extended periods outdoors
Long-Term Paint Protection
For the ultimate protection against future scratches, consider a ceramic coating or paint protection film. These professional-grade solutions provide years of protection against minor scratches, UV damage, and environmental contaminants.
Frequently Asked Questions
Can toothpaste remove car scratches?
Toothpaste can remove very light surface scratches because it contains mild abrasives. It works best on clear coat scratches that don’t catch your fingernail. Apply a small amount of whitening toothpaste (which has more abrasives) to a damp cloth, rub in circular motions, then rinse and dry. However, toothpaste is not as effective as proper automotive compounds and may not work on deeper scratches.
How long does it take to buff out a scratch?
The time required depends on the scratch severity and your method. A small clear coat scratch might take 10-15 minutes to buff out by hand. Larger areas or deeper scratches requiring touch-up paint can take several hours, plus drying time between steps. Professional-quality results often require patience and multiple passes.
Will buffing remove all types of scratches?
No, buffing is most effective on clear coat and light base coat scratches. Deeper scratches that reach the primer or metal require filling with touch-up paint before buffing can blend the repair. Very deep gouges may require professional body work and repainting.
Can I use WD-40 to remove scratches?
WD-40 can temporarily mask very light scratches by filling them and adding shine, but it doesn’t actually repair the damage. The effect is temporary and washes away. For proper repair, use automotive-specific compounds designed for scratch removal.
Is it better to buff by hand or with a machine?
Machine buffing with a dual-action polisher is more efficient and often produces better results, especially for larger areas. Hand buffing is safer for beginners and works well for small, isolated scratches. If you’re new to buffing, start by hand before investing in a machine.
How can I tell if I’ve buffed too much?
Signs of over-buffing include paint appearing thin or translucent, a change in color tone, or a wavy/distorted reflection. If you notice any of these signs, stop immediately. Modern cars have relatively thin clear coats that can be burned through if buffed too aggressively.
Final Thoughts on Buffing Out Car Scratches
With the right tools, techniques, and a bit of patience, many car scratches can be successfully buffed out at home. Remember to properly identify the type of scratch you’re dealing with, use appropriate products, and work methodically for the best results.
For minor clear coat scratches, a simple hand-buffing process can restore your car’s finish in minutes. Deeper scratches may require more comprehensive approaches, including touch-up paint and careful blending. And when in doubt about your ability to address severe damage, don’t hesitate to consult a professional.
By following the steps in this guide, you’ll not only save money on professional detailing but also gain valuable skills for maintaining your vehicle’s appearance for years to come. Your car is an investment, and keeping its finish in top condition helps preserve both its beauty and its value.
Complete Car Scratch Repair Kit
Ready to tackle those annoying scratches? Get everything you need in one convenient package with a professional-grade scratch repair kit. Includes compounds, applicators, microfiber cloths, and detailed instructions.