Replacing valve guides is a crucial aspect of engine repair that ensures the longevity and performance of a vehicle’s engine. Over time, valve guides can wear out, leading to decreased engine efficiency and potentially causing significant damage if not addressed.
The process of valve guide replacement involves removing the old guides and installing new ones, a task that requires precision and the right tools. It’s a procedure that can significantly impact the engine’s overall health and functionality.
Key Takeaways
- Valve guide replacement is essential for maintaining engine performance.
- The process involves removing old guides and installing new ones.
- Precision and the right tools are crucial for successful replacement.
- Proper valve guide replacement can prevent significant engine damage.
- It’s a critical aspect of overall engine repair and maintenance.
Understanding Valve Guides and When They Need Replacement
Understanding the role of valve guides is essential for maintaining optimal engine performance. Valve guides are a critical component of the engine’s cylinder head, directly influencing the engine’s overall efficiency and operation.
What Are Valve Guides and Their Function
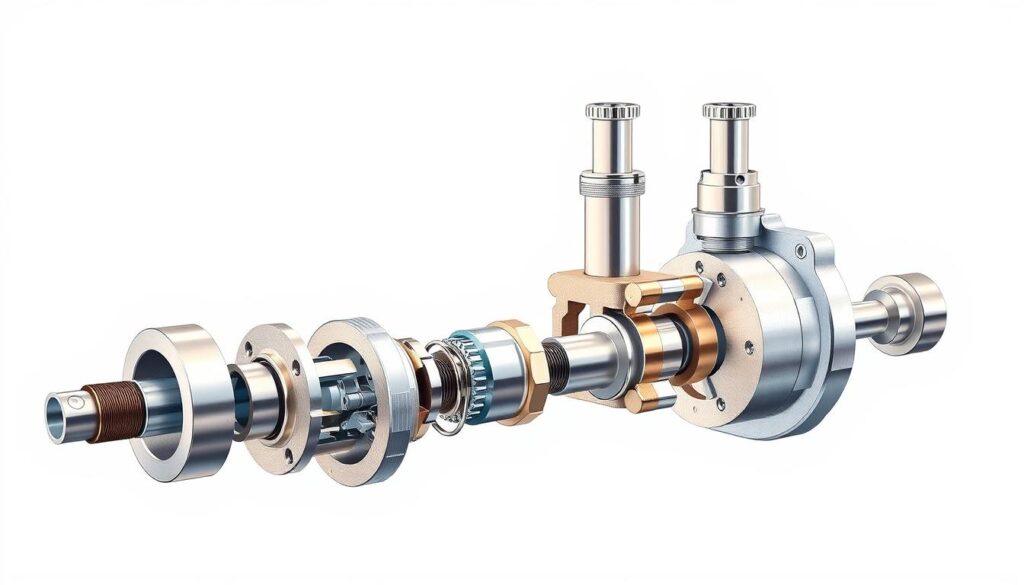
Valve guides are cylindrical components that surround the valve stem, providing a precise path for the valve to move up and down. They are typically made from materials such as brass, cast iron, or sintered metal, chosen for their durability and resistance to wear. The primary function of valve guides is to maintain the correct alignment of the valves with the valve seats, ensuring proper sealing and efficient engine operation. Properly functioning valve guides are crucial for optimal engine performance, as they help to regulate the flow of air and fuel into the engine’s cylinders.

Signs of Worn or Damaged Valve Guides
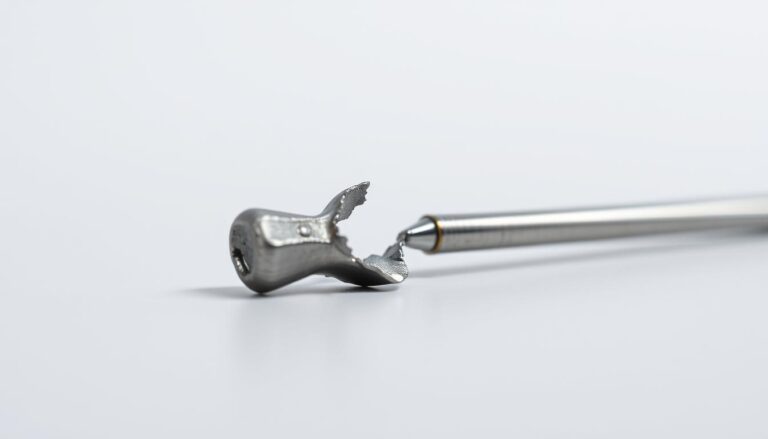
Worn or damaged valve guides can lead to a range of engine problems, including decreased performance, increased oil consumption, and potentially catastrophic engine failure. Signs that valve guides may need replacement include excessive valve stem wear, visible scoring or damage on the guide’s surface, and increased clearance between the valve stem and guide. Regular inspection of valve guides is essential to identify potential issues before they become major problems. By monitoring the condition of valve guides, engine technicians can prevent costly repairs and maintain optimal engine performance.
Tools and Materials Needed for Valve Guide Replacement
A well-prepared workspace with the necessary tools and materials is essential for effective valve guide replacement in automotive repair. Having the right equipment ensures a durable engine repair.
Essential Tools for the Job
The replacement process requires specific tools, including a valve guide removal tool, a reamer for sizing the new guides, and a precision measuring kit to ensure accurate fitment. Precision is key in this process to avoid damaging the cylinder head or the new valve guides.
Materials and Replacement Parts
You’ll need to source replacement valve guides that match the specifications of your engine. The material of the guides (e.g., bronze or cast iron) should be compatible with your engine’s requirements.
Safety Equipment
Safety glasses, gloves, and a face mask are crucial for protecting yourself from debris and potential chemical exposure during the repair.
Preparing Your Engine for Valve Guide Replacement
The valve guide replacement process begins with thorough engine preparation. This crucial step ensures that the replacement process is carried out efficiently and effectively.
Disassembling the Cylinder Head
Disassembling the cylinder head is a delicate process that requires careful handling of its components. Start by removing the valve cover and any other components that obstruct access to the cylinder head. Use the appropriate tools to avoid damaging any parts.
Cleaning and Inspection
After disassembly, thorough cleaning of the cylinder head and its components is essential. Inspect the parts for any signs of wear or damage. This step is critical in identifying any other potential issues that may need to be addressed during the valve guide replacement.
| Component | Inspection Criteria | Action Required |
|---|---|---|
| Cylinder Head | Check for cracks or excessive wear | Repair or replace as necessary |
| Valves | Inspect for wear on stems and seats | Replace if worn beyond specification |
How to Replace Valve Guides: Removal Process
Removing valve guides is a crucial step in engine maintenance, requiring careful planning and execution. This process is essential for ensuring the longevity and performance of your engine.
Setting Up Your Work Area
Before starting the removal process, it’s essential to set up a clean and organized work area. This includes having all the necessary tools and materials within reach, such as a valve guide removal tool and safety equipment.
Heating the Cylinder Head
Heating the cylinder head is a critical step in the removal process. It involves using a heat source to expand the metal, making it easier to remove the valve guide. Caution should be exercised to avoid overheating, which can damage the cylinder head.
“The key to successful valve guide removal is patience and attention to detail.”
, a well-known engine repair specialist once said. This quote emphasizes the importance of a careful approach.
Using a Valve Guide Removal Tool
A valve guide removal tool is specifically designed for this task. It works by gripping the guide and pulling it out of the cylinder head. The tool must be used carefully to avoid damaging the surrounding material.
Common Challenges During Removal
Several challenges may arise during the removal process, including stuck guides or damaged cylinder heads. A table summarizing common issues and their solutions is provided below:
| Issue | Solution |
|---|---|
| Stuck Valve Guide | Apply more heat or use a different removal tool |
| Damaged Cylinder Head | Consult a professional or replace the cylinder head |
By understanding these challenges and being prepared, you can ensure a successful valve guide removal process.
Measuring and Selecting the Correct Replacement Guides
Valve guide replacement requires meticulous attention to detail, starting with taking precise measurements of the existing guides. This step is crucial for ensuring that the new guides fit perfectly, thereby maintaining optimal engine performance.
Taking Precise Measurements
To take precise measurements, you’ll need a set of high-quality measuring tools, such as a micrometer or a dial indicator. Accuracy is key because even minor deviations can lead to poor engine performance or damage to other components. Measure the inner diameter of the valve guide and record the data for future reference.
Choosing the Right Material for Your Application
The material of the replacement guide is critical and depends on the specific application and engine type. Common materials include bronze, iron, and composite materials. Each material has its advantages, such as durability, heat resistance, or cost-effectiveness. Selecting the right material ensures compatibility and optimal performance.
Sizing Considerations
Sizing is another critical factor when selecting replacement valve guides. The guides must be compatible with the valve stem and the cylinder head. Oversized or undersized guides can lead to valve stem wear or poor sealing. Consult the engine manufacturer’s specifications to determine the correct size for your replacement guides.
Installing New Valve Guides
Installing new valve guides requires precision and the right technique to ensure optimal engine performance. This process involves several critical steps that must be executed carefully to maintain the integrity of the cylinder head and overall engine health.
Preparing the Cylinder Head
Before installing new valve guides, the cylinder head must be thoroughly prepared. This involves cleaning the guide holes to remove any debris or residue from the old guides. Ensure the area is free from contaminants to prevent any damage or interference with the new guides.
Chilling the New Guides
Chilling the new valve guides is a crucial step that facilitates their installation. By contracting the guides through chilling, they can be easily inserted into the guide holes. This technique helps prevent damage to the guides or the cylinder head.
Proper Installation Technique
The installation process requires a gentle yet firm technique. The chilled guides should be aligned with the guide holes and pressed in gently but firmly. It’s essential to avoid forcing the guides, as this can cause damage to the cylinder head or the guides themselves.
Ensuring Correct Depth and Alignment
Once the new guides are installed, it’s critical to verify their depth and alignment. Proper alignment ensures that the valves operate smoothly, while the correct depth is necessary for optimal engine performance. Use the appropriate tools to measure and adjust as necessary.
By following these steps and paying close attention to detail, the installation of new valve guides can be accomplished effectively, contributing to a successful engine repair.
Reassembly and Post-Installation Steps
After successfully installing new valve guides, the next crucial steps involve reaming the guides, reconditioning the valve seats, and reassembling the cylinder head. These processes are vital to ensure the proper functioning and longevity of the engine.
Reaming the New Guides
Reaming is a precise process that involves enlarging the new valve guides to the exact size required for the valves. This step is crucial for achieving the correct clearance between the valve stem and the guide, which directly affects engine performance. Precision reaming tools are used to achieve the desired dimensions.
Valve Seat Reconditioning
Valve seat reconditioning is essential after replacing valve guides. It involves resurfacing the valve seats to ensure they are perfectly aligned and sealed with the valves. This process helps in maintaining optimal engine compression and preventing leaks. Specialized machinery is often used for this task to achieve the required precision.
Reassembling the Cylinder Head
Reassembling the cylinder head requires careful attention to detail. All components must be thoroughly cleaned and inspected before reassembly. The valve train components, including the valves, springs, and retainers, are reassembled in the reverse order of their removal. It’s crucial to follow the manufacturer’s specifications for torque values and assembly sequences.
| Step | Description | Tools Required |
|---|---|---|
| 1 | Reaming New Guides | Precision reaming tools |
| 2 | Valve Seat Reconditioning | Specialized machinery |
| 3 | Reassembling Cylinder Head | Torque wrench, assembly tools |
“The precision and care taken during the reassembly process directly impact the engine’s performance and longevity.”
By following these steps meticulously, technicians can ensure that the engine is restored to optimal condition, providing reliable service and performance.
Conclusion
Replacing valve guides is a critical process in engine repair, directly impacting the overall performance and longevity of the engine. By following the steps outlined in this guide, individuals can ensure that their engine operates at its best, maintaining the precise tolerances necessary for efficient combustion and minimizing wear on other engine components.
Proper valve guide replacement involves meticulous attention to detail, from the initial disassembly and inspection to the final reassembly and testing. Ensuring that new valve guides are correctly sized and installed is crucial for maintaining the engine’s operational integrity.
By understanding the importance of valve guide replacement and executing it correctly, engine repair professionals and enthusiasts alike can significantly enhance engine reliability and performance. This process not only contributes to a smoother-running engine but also helps in preventing future issues related to valve guide wear.
FAQ
What are the signs that indicate my valve guides need replacement?
Signs that your valve guides may need replacement include excessive oil consumption, blue smoke from the exhaust, poor engine performance, and unusual noises from the engine.
Can I replace valve guides myself, or do I need professional help?
Replacing valve guides can be a complex task that requires specialized tools and technical knowledge. While it’s possible to do it yourself, it’s often recommended to seek the help of a professional mechanic to ensure the job is done correctly.
What tools are required for valve guide replacement?
The tools required for valve guide replacement include a valve guide removal tool, a heating or chilling device for the cylinder head and guides, precision measuring instruments, and reaming tools for sizing the new guides.
How do I measure for the correct replacement valve guides?
To measure for the correct replacement valve guides, you need to take precise measurements of the valve stem and the guide bore in the cylinder head. This ensures that you select guides that are the correct size and fit for your engine.
What materials are valve guides typically made of?
Valve guides are typically made from materials such as bronze, cast iron, or sintered metal. The choice of material depends on the engine’s specifications and the operating conditions.
How do I ensure the correct depth and alignment when installing new valve guides?
Ensuring the correct depth and alignment when installing new valve guides involves using the correct installation tools and techniques. It’s crucial to follow the manufacturer’s instructions and use precision measuring instruments to verify the guides are properly seated and aligned.
What is the purpose of reaming the new valve guides after installation?
Reaming the new valve guides after installation is necessary to achieve the precise internal diameter required for the valve stem to operate smoothly. This step ensures optimal engine performance and longevity.
How often should valve guides be inspected or replaced?
The frequency of inspecting or replacing valve guides depends on the engine’s mileage, operating conditions, and maintenance history. Typically, valve guides should be inspected during major engine overhauls or when symptoms of worn guides are observed.


