Dashboard warning lights in your Honda Accord serve as important communication tools between you and your vehicle. When these indicators illuminate, they’re alerting you to potential issues ranging from minor maintenance reminders to serious mechanical problems. While it’s tempting to simply reset these warnings, understanding why they appeared in the first place is crucial for your safety and your vehicle’s longevity.
This comprehensive guide will walk you through the proper procedures for resetting various warning lights on your Honda Accord across different model years. We’ll cover when it’s appropriate to reset these indicators yourself and when professional service is the safer option. Remember, warning lights are there for a reason – always address the underlying issue before clearing the indicator.
Understanding Honda Accord Warning Lights
Honda uses a color-coded system for dashboard indicators that helps you quickly assess the severity of the issue:
- Red lights indicate urgent issues requiring immediate attention. These warnings typically relate to critical systems like brakes, oil pressure, or engine temperature.
- Amber/Yellow lights suggest a problem that needs attention soon but isn’t immediately dangerous. Examples include check engine lights or tire pressure warnings.
- Green/Blue lights are informational and indicate that certain systems are active, such as cruise control or high beams.
Before attempting to reset any warning light, it’s essential to diagnose and address the underlying issue. Resetting a warning without fixing the problem can lead to more serious damage and potentially unsafe driving conditions.
How to Reset the Check Engine Light
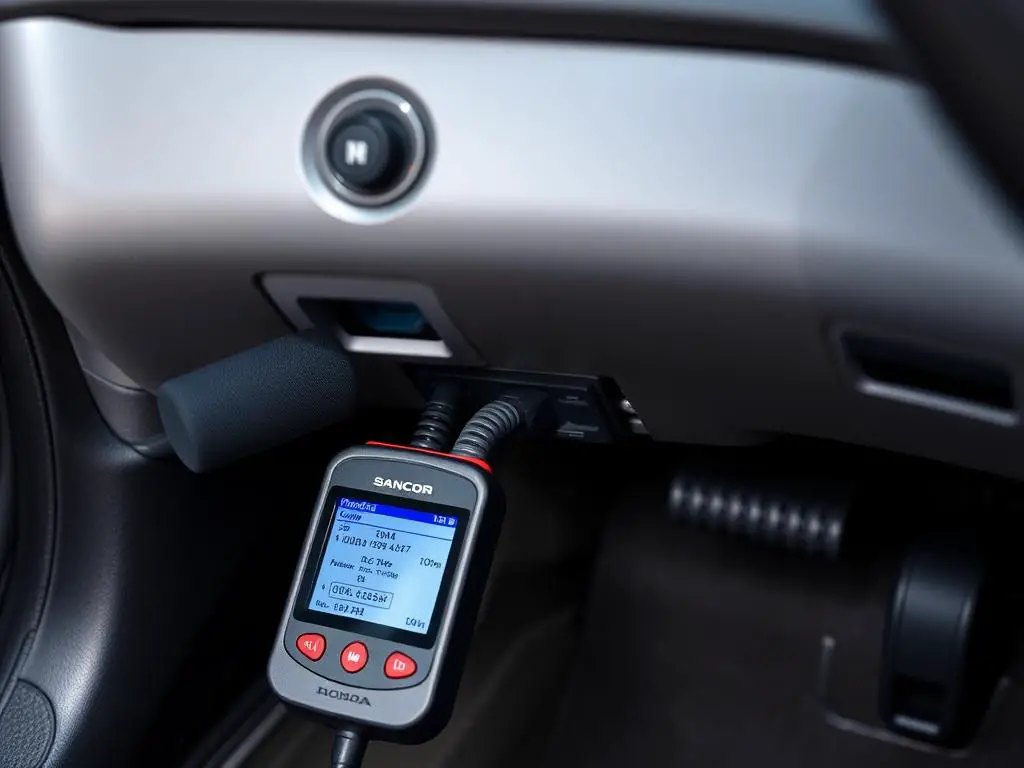
The check engine light (CEL) is one of the most common warning indicators in your Honda Accord. It can signal various issues from a loose gas cap to serious engine problems. Here are three methods to reset this light after addressing the underlying issue:
Method 1: Using an OBD-II Scanner (Recommended)
- Locate your vehicle’s OBD-II port under the dashboard on the driver’s side.
- With the ignition off, plug in the OBD-II scanner.
- Turn the ignition to the “ON” position without starting the engine.
- Follow the scanner’s instructions to read and record any error codes.
- After addressing the issue causing the code, use the scanner’s “Clear Codes” or “Erase Codes” function.
- Turn off the ignition and disconnect the scanner.
Method 2: Battery Disconnect Method
Warning: This method will reset all electronic systems in your vehicle, including radio presets, clock settings, and other personalized settings. Use only if you don’t have access to an OBD-II scanner.
- Ensure your vehicle is completely off.
- Open the hood and locate the battery.
- Disconnect the negative (black) battery terminal using a wrench.
- Press and hold the horn button for about 30 seconds to drain any remaining power in the system.
- Wait 10-15 minutes before reconnecting the battery.
- Reconnect the negative terminal and secure it properly.
Method 3: Drive Cycle Reset
If you’ve fixed the issue causing the check engine light, sometimes the vehicle’s computer will reset itself after several complete drive cycles:
- Make sure the vehicle has a full tank of gas.
- Start the engine and let it reach normal operating temperature.
- Drive normally for several days, including highway and city driving.
- The system will typically reset after 50-100 miles of driving if the issue is resolved.
Resetting the Maintenance Minder System
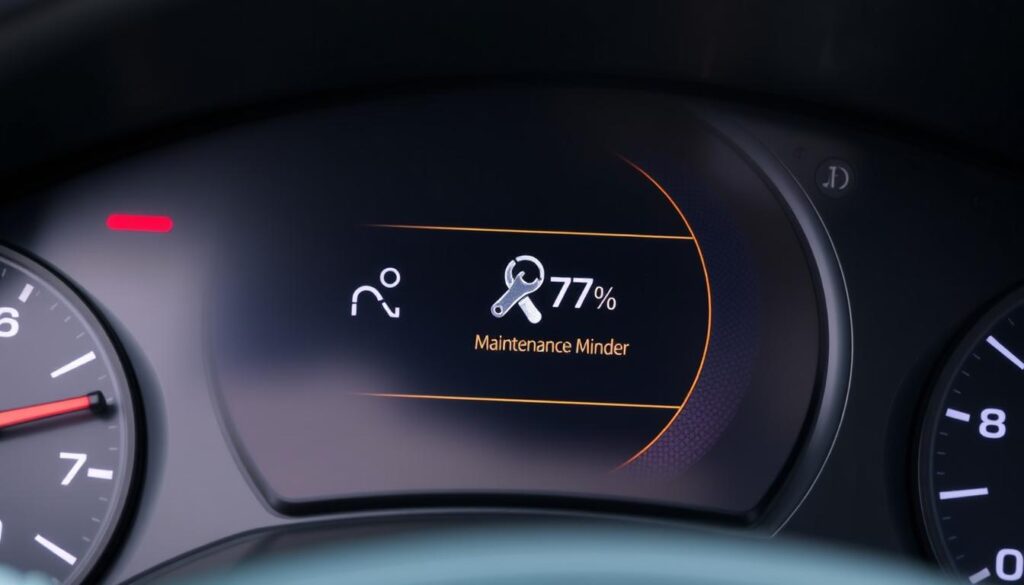
The Maintenance Minder system in your Honda Accord tracks your vehicle’s service needs based on driving conditions and mileage. When service is due, a wrench icon appears along with a service code. Here’s how to reset it after completing the required maintenance:
For 2010-2015 Honda Accord Models
- Turn the ignition to the “ON” position without starting the engine.
- Press the “SELECT/RESET” knob until the engine oil life indicator appears.
- Press and hold the “SELECT/RESET” knob for about 10 seconds until the display begins to blink.
- Press and hold the knob again for 5 seconds until the maintenance items reset.
For 2016-2022 Honda Accord Models
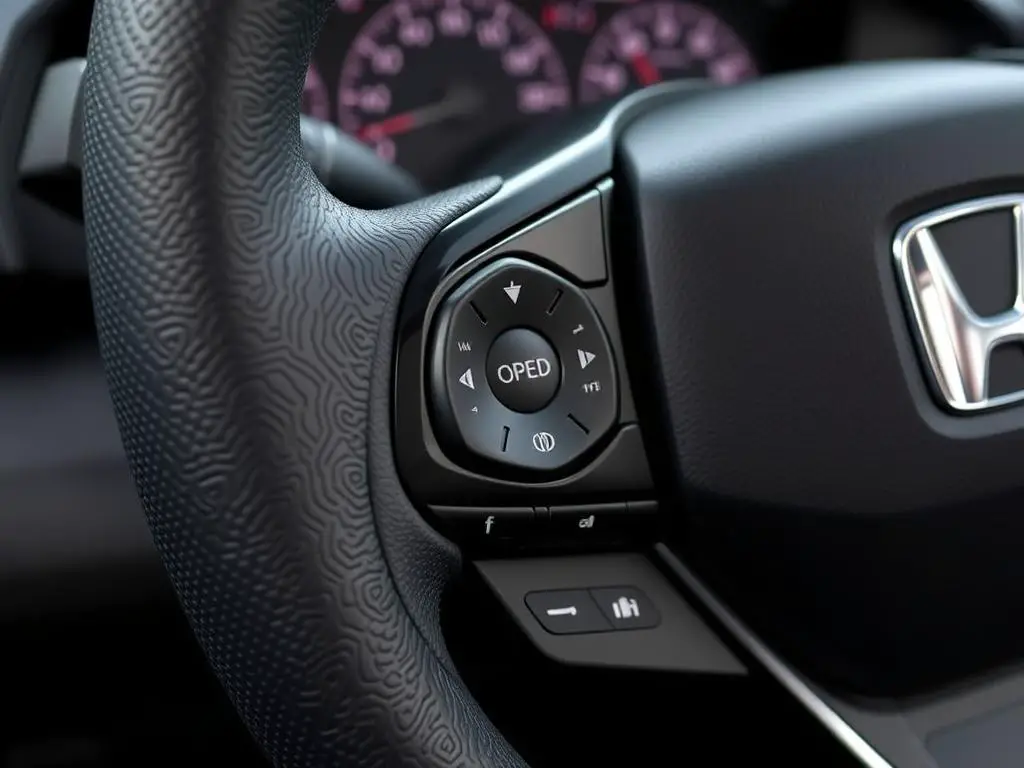
- Using the steering wheel controls, navigate to “Vehicle Settings” on the information display.
- Select “Maintenance Info” from the menu.
- Choose “Reset” and then select the maintenance item you wish to reset.
- Select “Yes” to confirm the reset.
- Exit the menu by pressing the “Back” button.
Note: According to Honda’s owner’s manual, “Failure to reset the Maintenance Minder display after a maintenance service results in the system showing incorrect maintenance intervals, which can lead to serious mechanical problems.”
Resetting the Tire Pressure Monitoring System (TPMS)
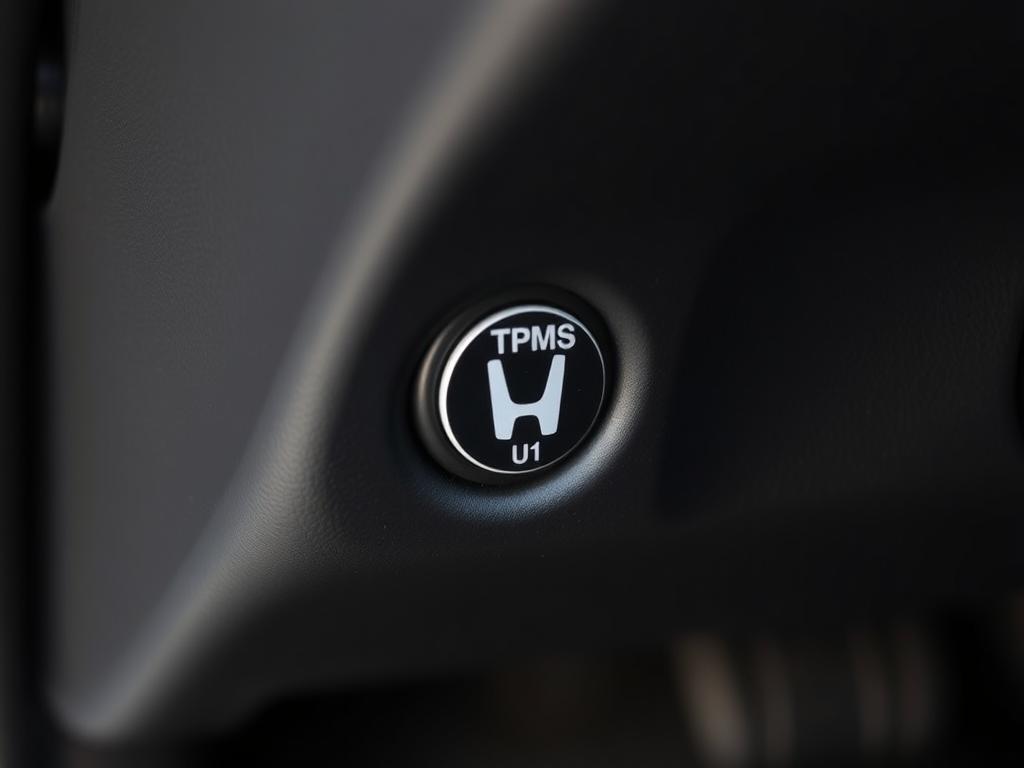
The Tire Pressure Monitoring System (TPMS) alerts you when one or more tires are significantly underinflated. After properly inflating your tires, you’ll need to recalibrate the system:
For 2010-2015 Honda Accord Models
- Ensure all tires are inflated to the recommended pressure (listed on the driver’s doorjamb).
- Turn the ignition to “ON” without starting the engine.
- Press and hold the TPMS button (located under the dashboard on the driver’s side) until the TPMS indicator blinks twice.
- Drive the vehicle for about 20 minutes at speeds above 30 mph to complete the calibration.
For 2016-2022 Honda Accord Models
- Ensure all tires are properly inflated.
- Use the steering wheel controls to navigate to “Vehicle Settings” on the information display.
- Select “TPMS Calibration” from the menu.
- Select “Calibrate” and press the center button to confirm.
- Drive the vehicle for about 20 minutes at speeds above 30 mph to complete the calibration.
Important: The TPMS system cannot detect a sudden tire failure or puncture. Always visually inspect your tires regularly and check tire pressure monthly.
Resetting the Oil Life Indicator
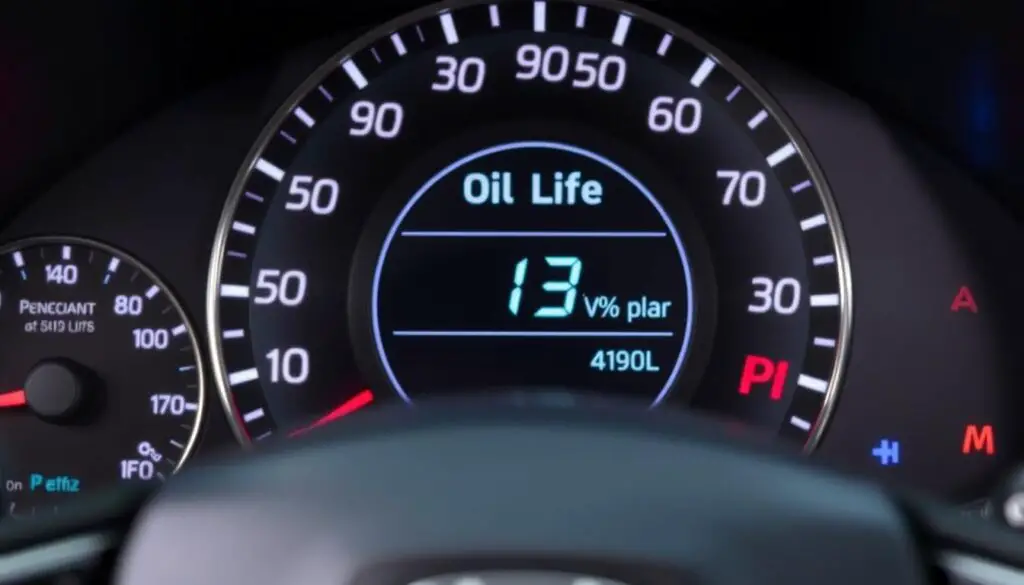
The oil life indicator in your Honda Accord calculates when an oil change is needed based on your driving habits and conditions. After changing your oil, you’ll need to reset this indicator:
For 2010-2015 Honda Accord Models
- Turn the ignition to “ON” without starting the engine.
- Press the “SELECT/RESET” knob until the engine oil life indicator appears.
- Press and hold the “SELECT/RESET” knob for approximately 10 seconds until the display begins to blink.
- Press and hold the knob again for 5 seconds until the oil life resets to 100%.
For 2016-2022 Honda Accord Models
- Using the steering wheel controls, navigate to “Vehicle Settings” on the information display.
- Select “Maintenance Info” from the menu.
- Select “Oil Life” and then choose “Reset.”
- Select “Yes” to confirm the reset.
Resetting ABS and VSA Warning Lights
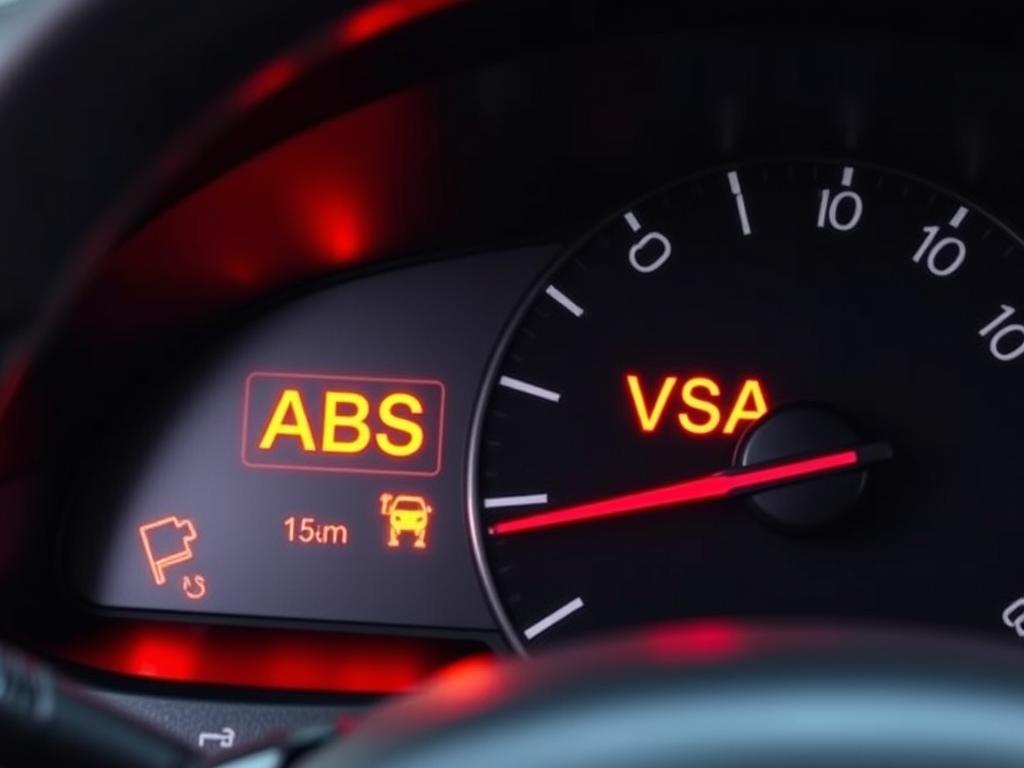
The Anti-lock Braking System (ABS) and Vehicle Stability Assist (VSA) warning lights indicate issues with these critical safety systems. Unlike maintenance indicators, these warnings typically indicate a malfunction that requires diagnosis:
Warning: ABS and VSA are critical safety systems. If these warning lights are illuminated, professional diagnosis is strongly recommended before attempting any reset.
Temporary Reset Method
In some cases, these lights may appear due to temporary electronic glitches and can be reset:
- Park on a level surface and turn off the engine.
- Check brake fluid levels to ensure they’re adequate.
- Restart the engine and observe if the lights turn off after the system self-check.
- If the lights remain on, drive cautiously for a short distance (less than a mile) and see if they reset.
When Professional Service is Required
You should seek professional service if:
- The lights return immediately after resetting
- You notice any changes in braking performance
- The vehicle handles differently or feels unstable
- Multiple warning lights are illuminated simultaneously
Resetting the Battery Sensor
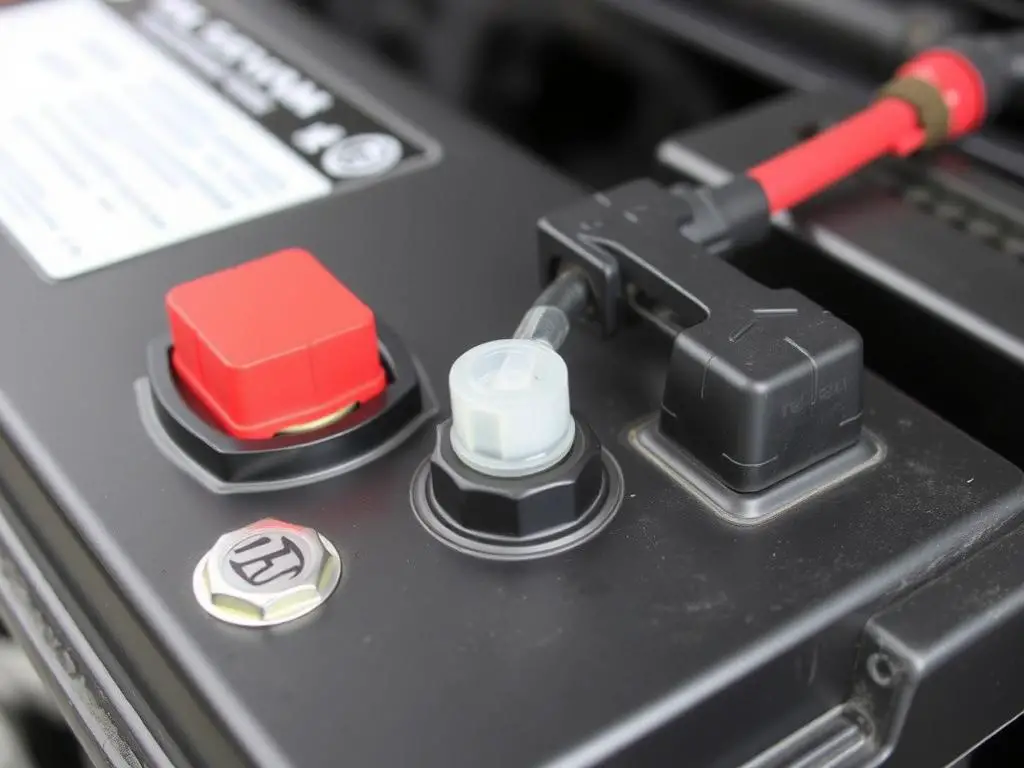
Modern Honda Accords have a battery sensor that monitors the battery’s condition. If you’ve replaced your battery or disconnected it for maintenance, you may need to reset this sensor:
Battery Sensor Reset Procedure
- Ensure the ignition is in the “OFF” position.
- Locate the battery sensor on the negative battery terminal.
- Disconnect the negative battery cable and wait at least 5 minutes.
- Reconnect the negative battery cable, ensuring it’s secure.
- Start the engine and let it idle for at least 5 minutes to allow the sensor to recalibrate.
- Turn off the engine and restart it to confirm the warning light is no longer illuminated.
Note: After disconnecting the battery, you may need to reset various electronic systems including the clock, radio presets, and power window positions.
Troubleshooting When Warning Lights Won’t Reset
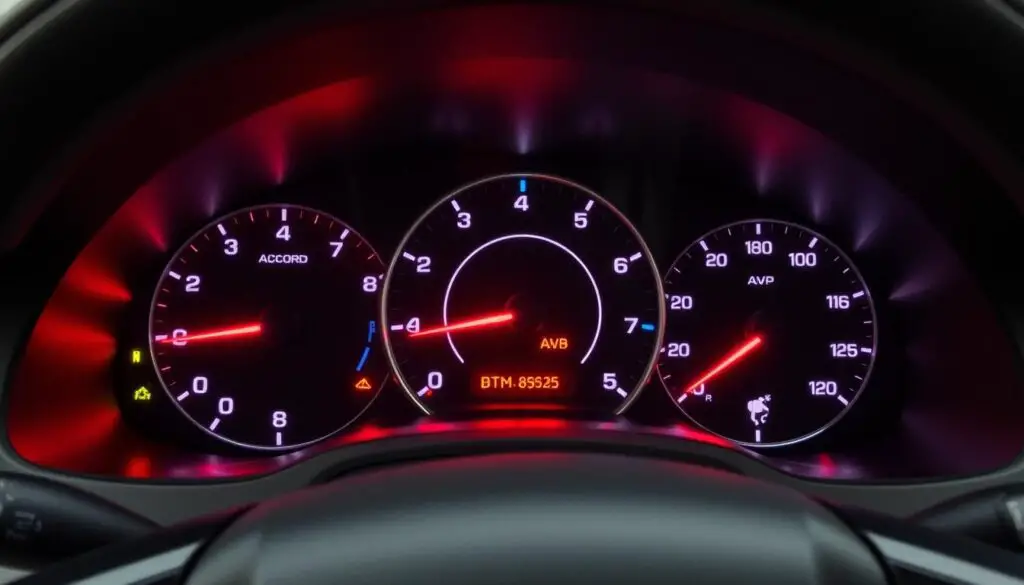
If you’ve followed the appropriate reset procedures but warning lights continue to illuminate, consider these troubleshooting steps:
Common Reasons Lights Won’t Reset
- Unresolved issues: The underlying problem hasn’t been properly fixed.
- Incomplete drive cycle: The vehicle’s computer hasn’t completed its self-check procedures.
- Faulty sensors: Damaged or malfunctioning sensors may continue to trigger warnings.
- Electrical issues: Wiring problems or voltage irregularities can cause persistent warnings.
- Computer glitches: The vehicle’s ECU may need a professional reset or update.
Next Steps to Consider
- Use an OBD-II scanner to check for additional error codes that might not be visible on the dashboard.
- Ensure all connections related to the system in question are secure and free from corrosion.
- Check if your vehicle has any outstanding recalls or technical service bulletins related to the warning light.
- Complete a full drive cycle (cold start, highway driving, idle periods) to allow the system to fully self-test.
- Consult your owner’s manual for model-specific troubleshooting steps.
Preventive Maintenance to Avoid Warning Lights

The best way to avoid dealing with warning lights is to follow a regular maintenance schedule. Here are key preventive measures to keep your Honda Accord running smoothly:
Regular Fluid Checks
- Check oil level monthly
- Inspect coolant level when engine is cool
- Verify brake fluid is at proper level
- Check transmission fluid (if applicable)
- Maintain proper windshield washer fluid
Routine Inspections
- Check tire pressure monthly
- Inspect battery terminals for corrosion
- Examine belts and hoses for wear
- Look for fluid leaks under the vehicle
- Test all lights regularly
Scheduled Maintenance
- Follow Maintenance Minder recommendations
- Change oil according to schedule
- Replace air filters as recommended
- Perform brake inspections
- Rotate tires every 5,000-7,500 miles
Pro Tip: Keep a maintenance log to track service history and upcoming maintenance needs. This can help you anticipate when warning lights might appear and address issues proactively.
Conclusion: Maintaining Your Honda Accord’s Health
Understanding how to reset Honda Accord warning lights is an important skill for any owner, but remember that these indicators are your vehicle’s way of communicating potential problems. Always investigate and address the underlying issues before performing any reset procedure.
For simple maintenance indicators like the oil life or maintenance minder, DIY resets are straightforward after completing the required service. However, for critical safety systems like ABS, VSA, or persistent check engine lights, professional diagnosis is often the safest approach.
By following regular maintenance schedules and promptly addressing warning lights when they appear, you’ll ensure your Honda Accord remains reliable, efficient, and safe for years to come.
Frequently Asked Questions About Honda Accord Warning Lights
Is it safe to drive with the check engine light on?
If the check engine light is steadily illuminated (not flashing), you can typically drive for a short period while arranging for service. However, a flashing check engine light indicates a severe issue that could damage your catalytic converter – stop driving as soon as safely possible and seek immediate assistance.
Will disconnecting the battery reset all warning lights?
Disconnecting the battery may temporarily reset some warning lights, but if the underlying issue hasn’t been fixed, the lights will likely return once the vehicle’s computer runs its diagnostic checks. Additionally, this method will reset all your electronic preferences and may not work for all warning systems.
How much does it cost to diagnose a warning light?
Diagnostic fees typically range from -0 at most service centers. Many auto parts stores offer free code reading for check engine lights, but this only tells you the code, not the root cause of the problem. Professional diagnosis is more comprehensive and can identify the exact issue triggering the warning light.
Why do multiple warning lights come on at the same time?
Multiple warning lights often indicate an electrical system issue, low battery voltage, or a problem with a shared component that affects multiple systems. This situation typically requires professional diagnosis as it suggests a more complex problem than a single warning light.
How often should I expect to see the maintenance minder indicator?
The maintenance minder system calculates service intervals based on your driving habits and conditions. Typically, you’ll see the indicator every 5,000-7,500 miles for oil changes and more frequently if you drive in severe conditions (extreme temperatures, stop-and-go traffic, or dusty environments).

