Tesla’s built-in dashcam feature provides valuable video recordings of your surroundings while driving. Whether you need evidence after an accident, want to capture a beautiful drive, or simply wish to review your journey, knowing how to save Tesla dashcam footage is essential. This guide walks you through everything you need to know about setting up, using, and saving footage from your Tesla’s dashcam system.
What You’ll Need: USB Drive Requirements
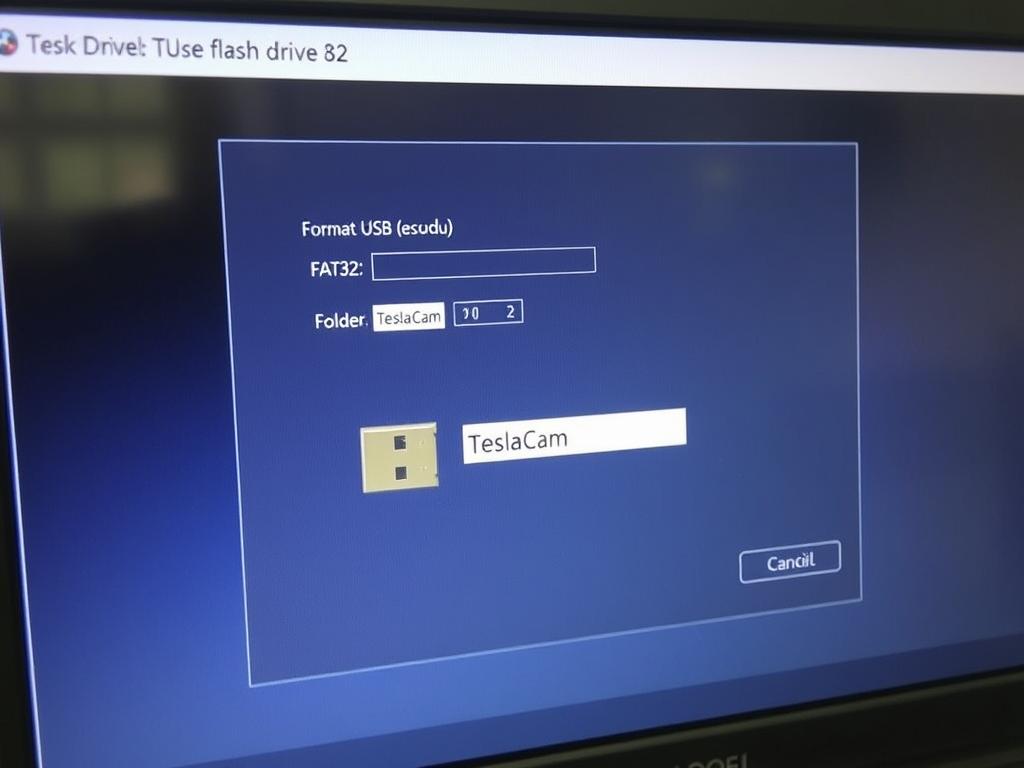
Before you can save dashcam footage, you’ll need a properly formatted USB drive. Tesla’s dashcam system has specific requirements to function correctly:
- Storage capacity: Minimum 16GB (32GB or higher recommended)
- Format type: FAT32 or exFAT file system
- Required folder: Create a folder named “TeslaCam” in the root directory
- Speed: Class 10 or higher for reliable recording
- Dedicated use: Use the drive exclusively for dashcam footage
Important: Tesla vehicles manufactured before 2018 may not support the dashcam feature. Check your vehicle’s software version to ensure compatibility.
Setting Up Your Tesla Dashcam
- Format your USB drive – Connect the drive to your computer and format it as FAT32 (Windows) or MS-DOS FAT (Mac).
- Create the TeslaCam folder – Create a folder named exactly “TeslaCam” (case sensitive) in the root directory of your USB drive.
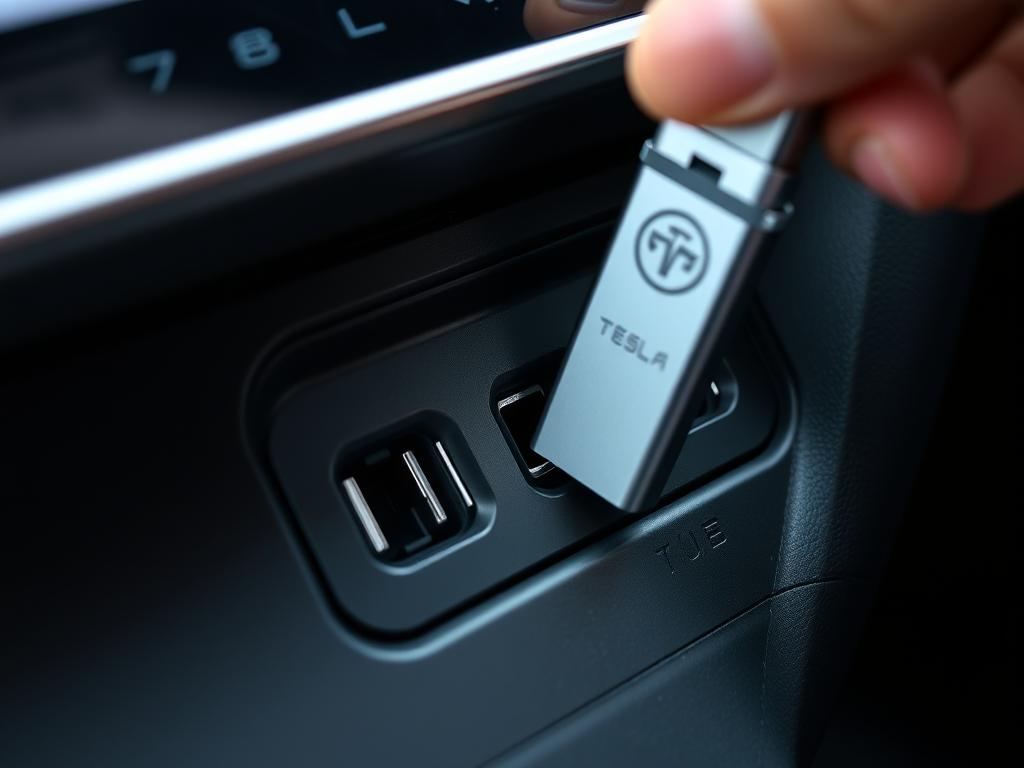
- Insert the USB drive – Plug the formatted USB drive into one of your Tesla’s USB ports (front console USB ports work best).
- Verify activation – When properly connected, a small camera icon will appear in the top corner of your Tesla’s touchscreen.
Dashcam Settings Configuration
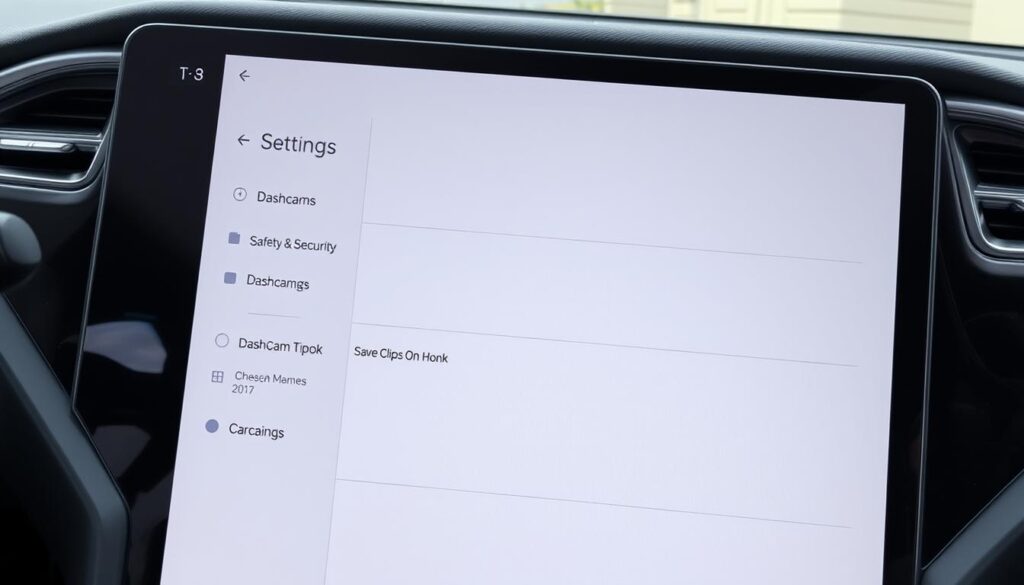
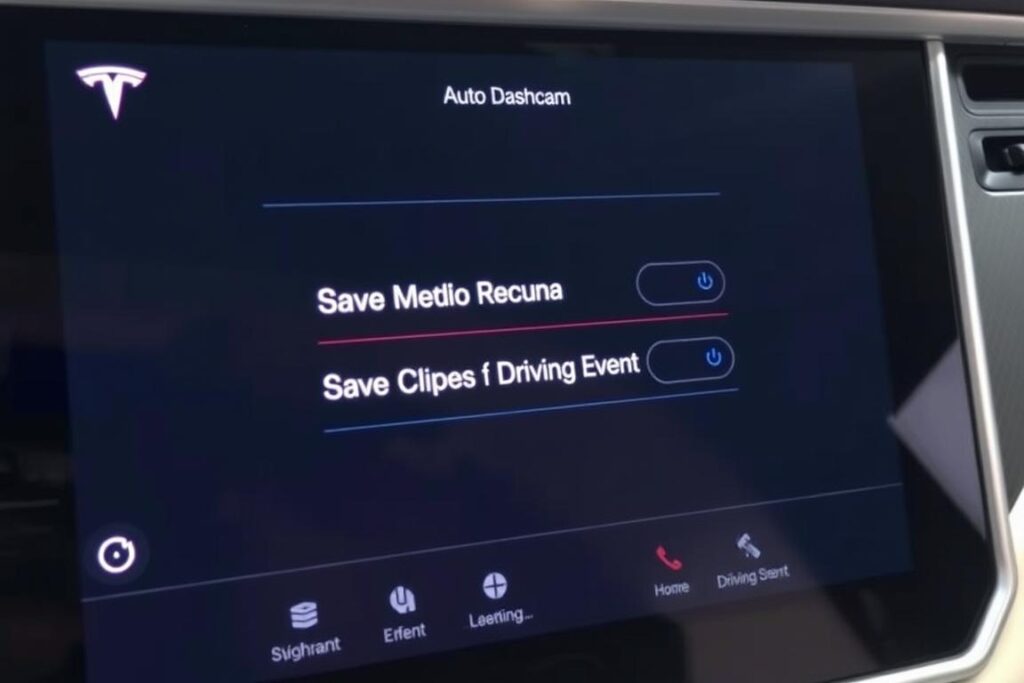
To customize your dashcam settings, navigate to Controls > Safety > Dashcam on your Tesla touchscreen. Here you can enable useful features like:
- Auto Dashcam: Automatically starts recording when you begin driving
- Save Clips on Honk: Saves the last 10 minutes of footage when you honk your horn
- Save on Driving Event: Automatically saves footage during detected incidents
How to Save Dashcam Footage While Driving
Tesla’s dashcam continuously records footage while you drive, but it operates on a loop that overwrites older recordings. To permanently save specific footage, you’ll need to take action:
Method 1: Using the Dashcam Icon
- Locate the dashcam icon – Find the small camera icon in the status bar at the top of your Tesla’s touchscreen.
- Tap the icon once – A single tap saves the last 10 minutes of footage to a protected folder on your USB drive.
- Confirm the save – The icon will briefly flash to confirm your footage has been saved.
![]()
Method 2: Using the “Save on Honk” Feature
If you’ve enabled the “Save on Honk” feature in your dashcam settings, you can quickly save footage by honking your horn:
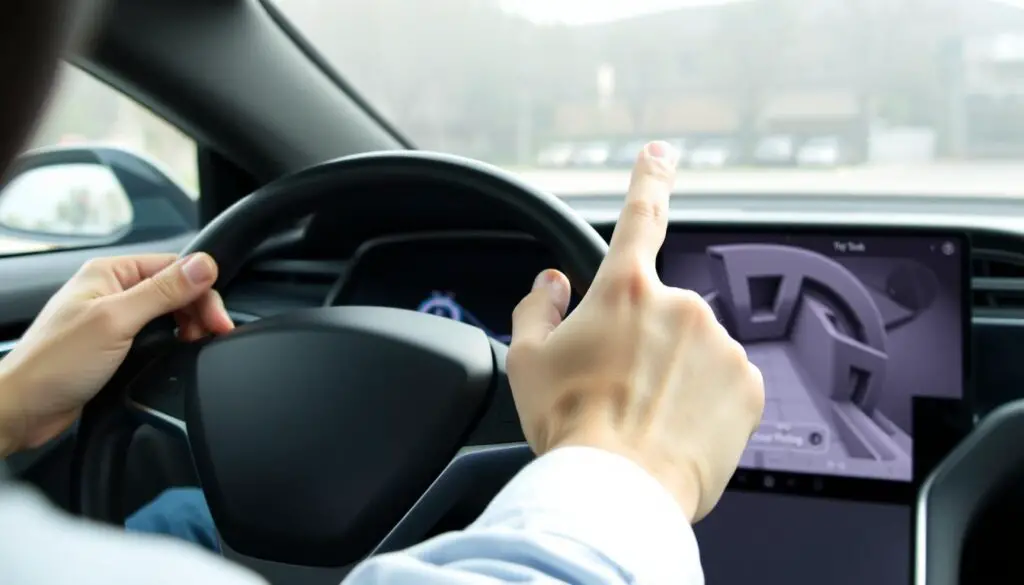
- Press your horn – When you need to save footage, simply press your Tesla’s horn.
- Automatic saving – The system will automatically save the previous 10 minutes of footage.
- Visual confirmation – The dashcam icon will flash briefly to confirm the save.
Pro Tip: The “Save on Honk” feature is particularly useful in situations where you need to quickly save footage without taking your eyes off the road, such as immediately after witnessing an incident.
Accessing and Managing Saved Dashcam Footage
Once you’ve saved dashcam footage, you’ll need to know how to access and manage these recordings. Here’s how to retrieve and view your saved Tesla dashcam videos:
Method 1: Viewing Footage on Your Tesla Screen
Newer Tesla software versions allow you to view dashcam footage directly on your vehicle’s touchscreen:
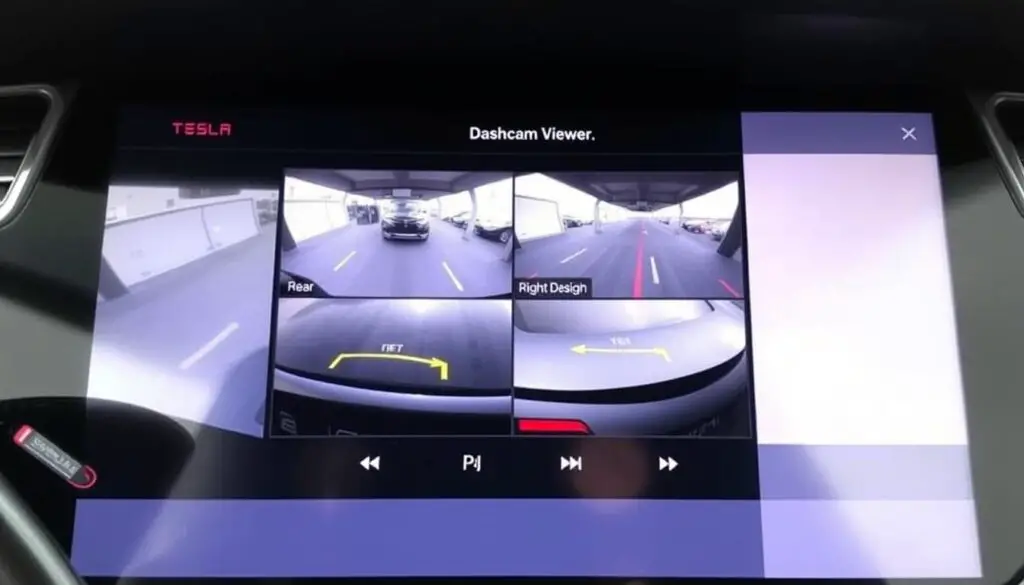
- Park your vehicle – Ensure your Tesla is in Park before accessing footage.
- Tap the dashcam icon – Press and hold the dashcam icon for a few seconds.
- Select “Launch Viewer” – This opens the dashcam viewer interface.
- Browse recordings – Navigate through saved clips organized by date and time.
- View multiple angles – Toggle between different camera views (front, rear, sides).
Method 2: Accessing Footage on a Computer
For more extensive viewing options and to save footage permanently, you can access the recordings on a computer:
- Safely remove the USB drive – Tap and hold the dashcam icon until it turns gray (about 5 seconds), then wait 10 seconds before removing the drive.
- Connect to computer – Insert the USB drive into your computer.
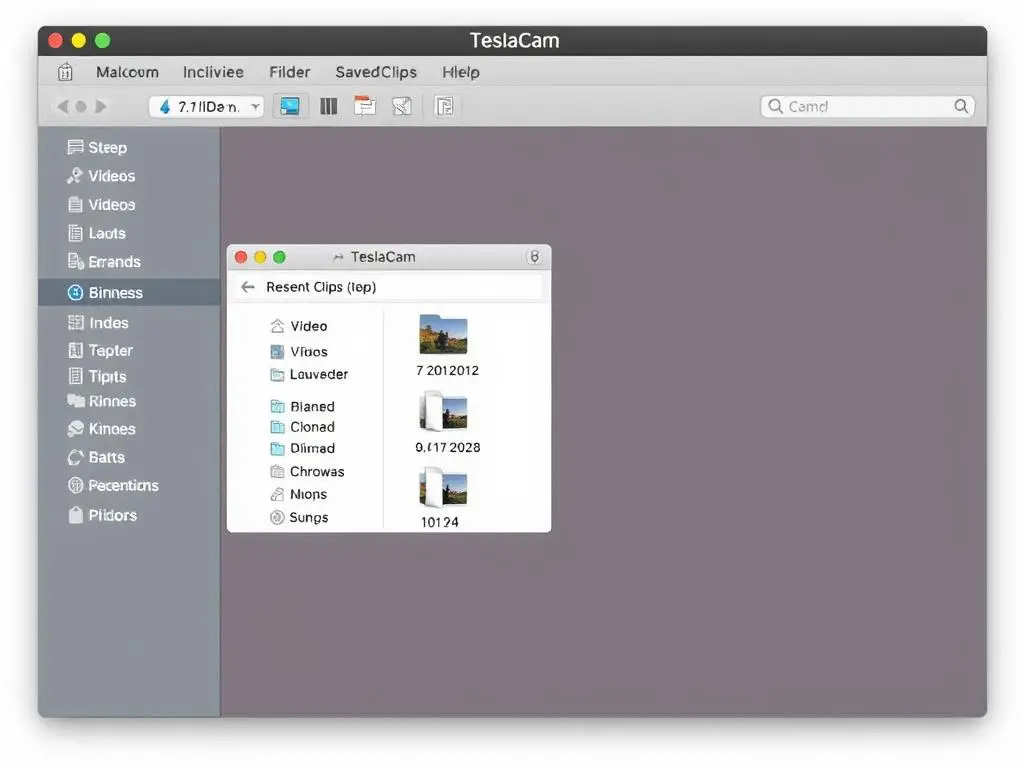
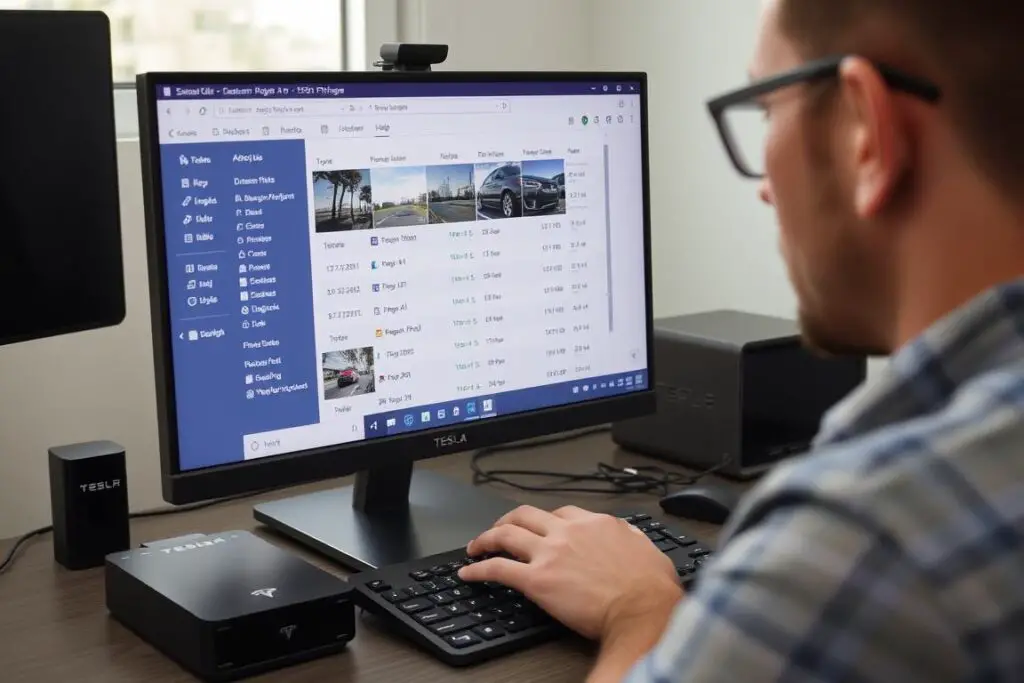
- Navigate to folders – Open the TeslaCam folder to find your recordings.
- Locate saved clips – Saved clips are in the “SavedClips” folder, organized by date.
- View with media player – Use VLC or another media player that supports H.265/HEVC codec.
File Format Note: Tesla dashcam footage is recorded in HEVC (H.265) format, which provides high-quality video with efficient compression. Some older computers may require additional codecs to play these files properly.
Troubleshooting Common Dashcam Issues
USB drive not recognized by Tesla
If your Tesla doesn’t recognize your USB drive:
- Ensure the drive is properly formatted as FAT32 or exFAT
- Verify the “TeslaCam” folder exists in the root directory (case sensitive)
- Try a different USB port in your vehicle
- Use a higher quality USB drive with faster read/write speeds
Dashcam icon not appearing
If the dashcam icon doesn’t appear on your screen:
- Check that your vehicle has the latest software update
- Verify your vehicle was manufactured after 2018 (required for dashcam support)
- Try rebooting your Tesla’s computer by holding both scroll wheels
- Ensure your USB drive meets the minimum requirements
Footage not saving when requested
If your footage isn’t saving when you tap the dashcam icon:
- Check that your USB drive has sufficient free space
- Ensure the drive isn’t write-protected
- Try formatting the drive and creating a new TeslaCam folder
- Use a higher-quality USB drive with faster write speeds
Reformatting a USB drive can resolve many common dashcam issues
Best Practices for Tesla Dashcam Usage
- Regular maintenance: Periodically delete unnecessary footage to free up space
- Backup important clips: Transfer critical footage to your computer or cloud storage
- Use high-quality storage: Invest in a reliable, high-speed USB drive dedicated to dashcam use
- Label saved incidents: Rename important folders with descriptive names for easy reference
- Check recording status: Regularly verify the dashcam icon is red (recording) when driving
Storage Management Tip: Tesla dashcam footage can consume approximately 1.8GB per hour of driving. For regular commuters, consider using a 128GB or larger USB drive and clearing unnecessary footage weekly.
Dashcam Differences Between Tesla Models
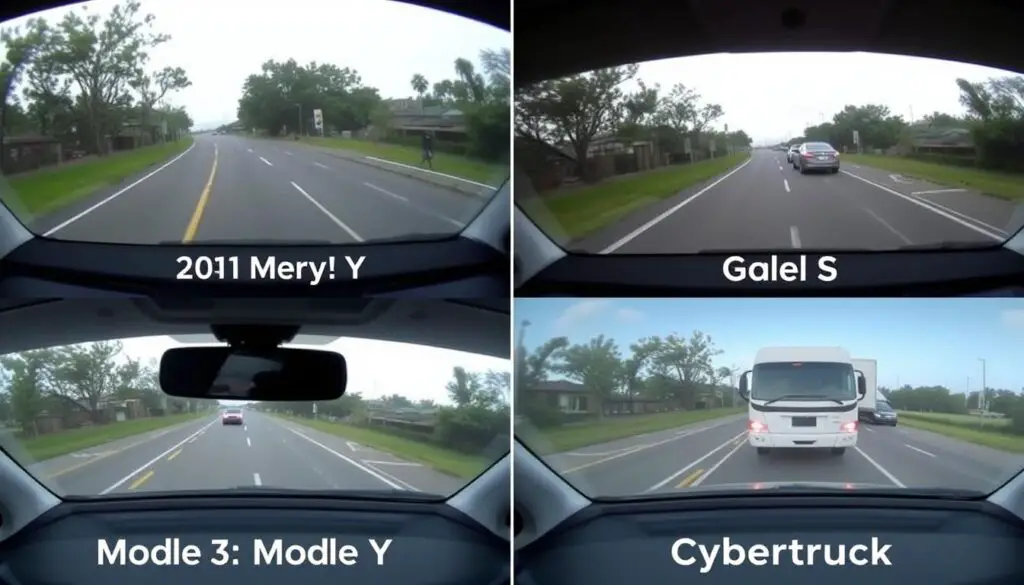
| Tesla Model | Camera Setup | Dashcam Availability | Special Notes |
| Model 3 (All years) | 8 external cameras | All vehicles with AP2.5+ | USB ports in center console |
| Model Y (All years) | 8 external cameras | All vehicles | USB ports in center console |
| Model S (2016+) | 8 external cameras | Requires AP2.5+ | USB ports in center console |
| Model X (2016+) | 8 external cameras | Requires AP2.5+ | USB ports in center console |
| Cybertruck | 8+ external cameras | All vehicles | Additional camera angles available |
Legal and Privacy Considerations
While dashcam footage can be invaluable for insurance claims and legal protection, there are important considerations to keep in mind:
Legal Aspects
- Dashcam laws vary by state and country – check local regulations
- In most US states, dashcam footage is admissible as evidence
- Some jurisdictions have restrictions on windshield-mounted devices
- Footage can be requested by law enforcement with proper authorization
Privacy Considerations
- Be mindful of recording in private areas or sensitive locations
- Consider informing passengers that recording is in progress
- Sentry Mode recordings in public spaces are generally permitted
- Sharing footage online may have privacy implications for others
Important: This information is not legal advice. Laws regarding dashcam usage vary by location. Consult local regulations or legal counsel for guidance specific to your area.
Helpful Third-Party Tools for Tesla Dashcam Footage
Several third-party applications can enhance your Tesla dashcam experience by making it easier to view, organize, and share footage:
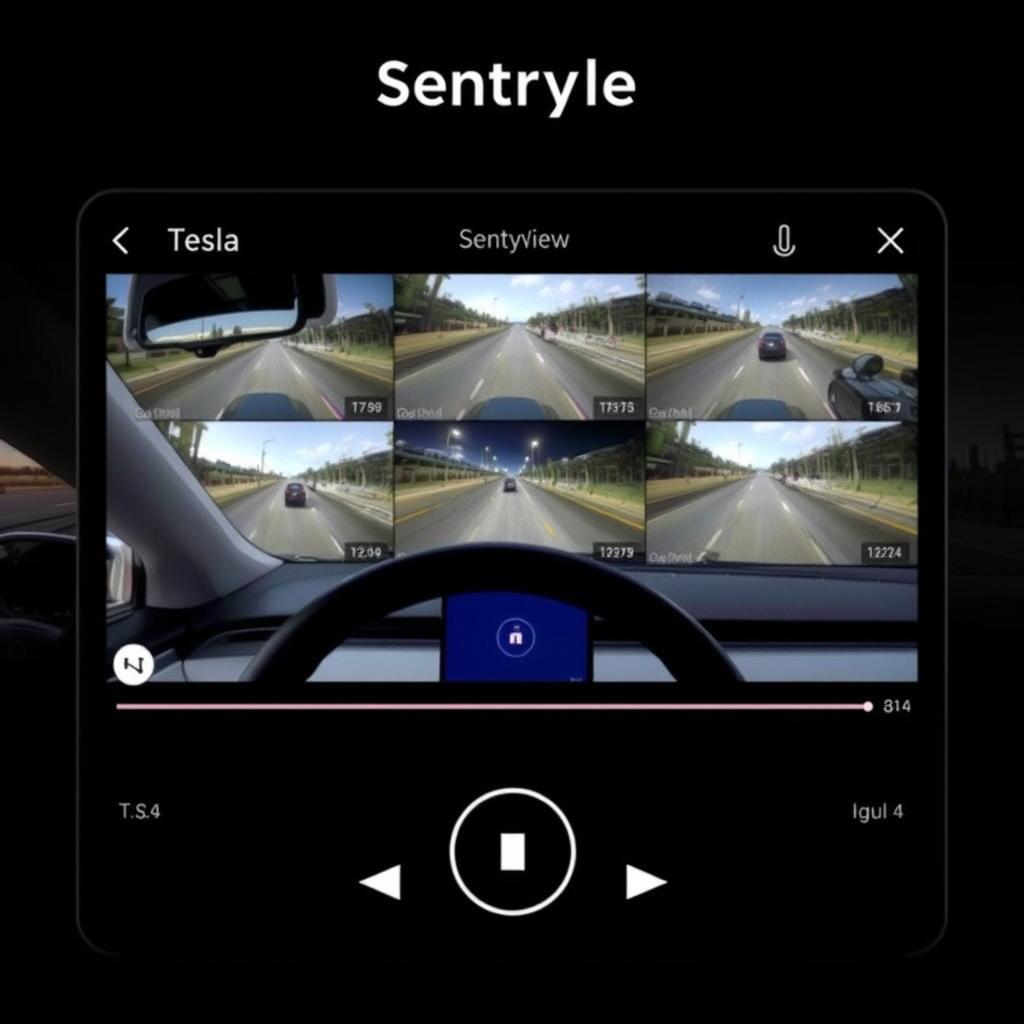
SentryView
Desktop application that allows viewing all camera angles simultaneously with synchronized playback.
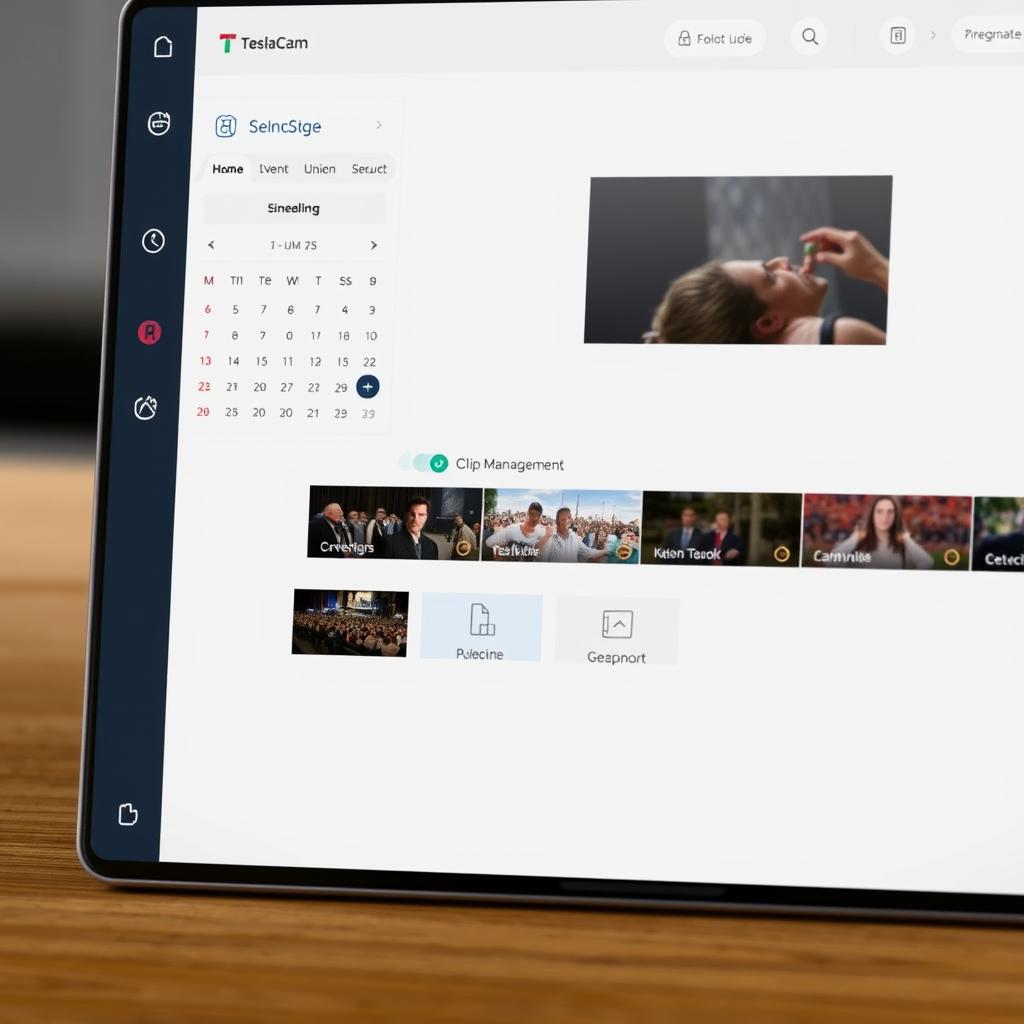
TeslaCam Viewer
Organizes clips by date and event type with easy export options and clip trimming capabilities.

TeslaUSB
Raspberry Pi-based solution that automatically backs up footage to home network when you arrive home.
Note: These third-party applications are not affiliated with or endorsed by Tesla. Use them at your own discretion and always download software from trusted sources.
Conclusion: Making the Most of Your Tesla Dashcam
Tesla’s dashcam feature provides invaluable peace of mind and practical benefits for every Tesla owner. By following the steps outlined in this guide, you can effectively save, access, and manage your dashcam footage whenever needed.
Remember that proper setup is crucial – using a high-quality, properly formatted USB drive ensures reliable recording. Regularly maintaining your dashcam system by clearing unnecessary footage and checking for proper operation will help ensure it’s ready when you need it most.
Whether you’re documenting a scenic drive, gathering evidence after an incident, or simply enjoying the added security of having a record of your journeys, your Tesla’s dashcam is a powerful tool that’s easy to use once you understand the basics.
Drive safely, and enjoy the peace of mind that comes with knowing your Tesla is watching the road with you!
